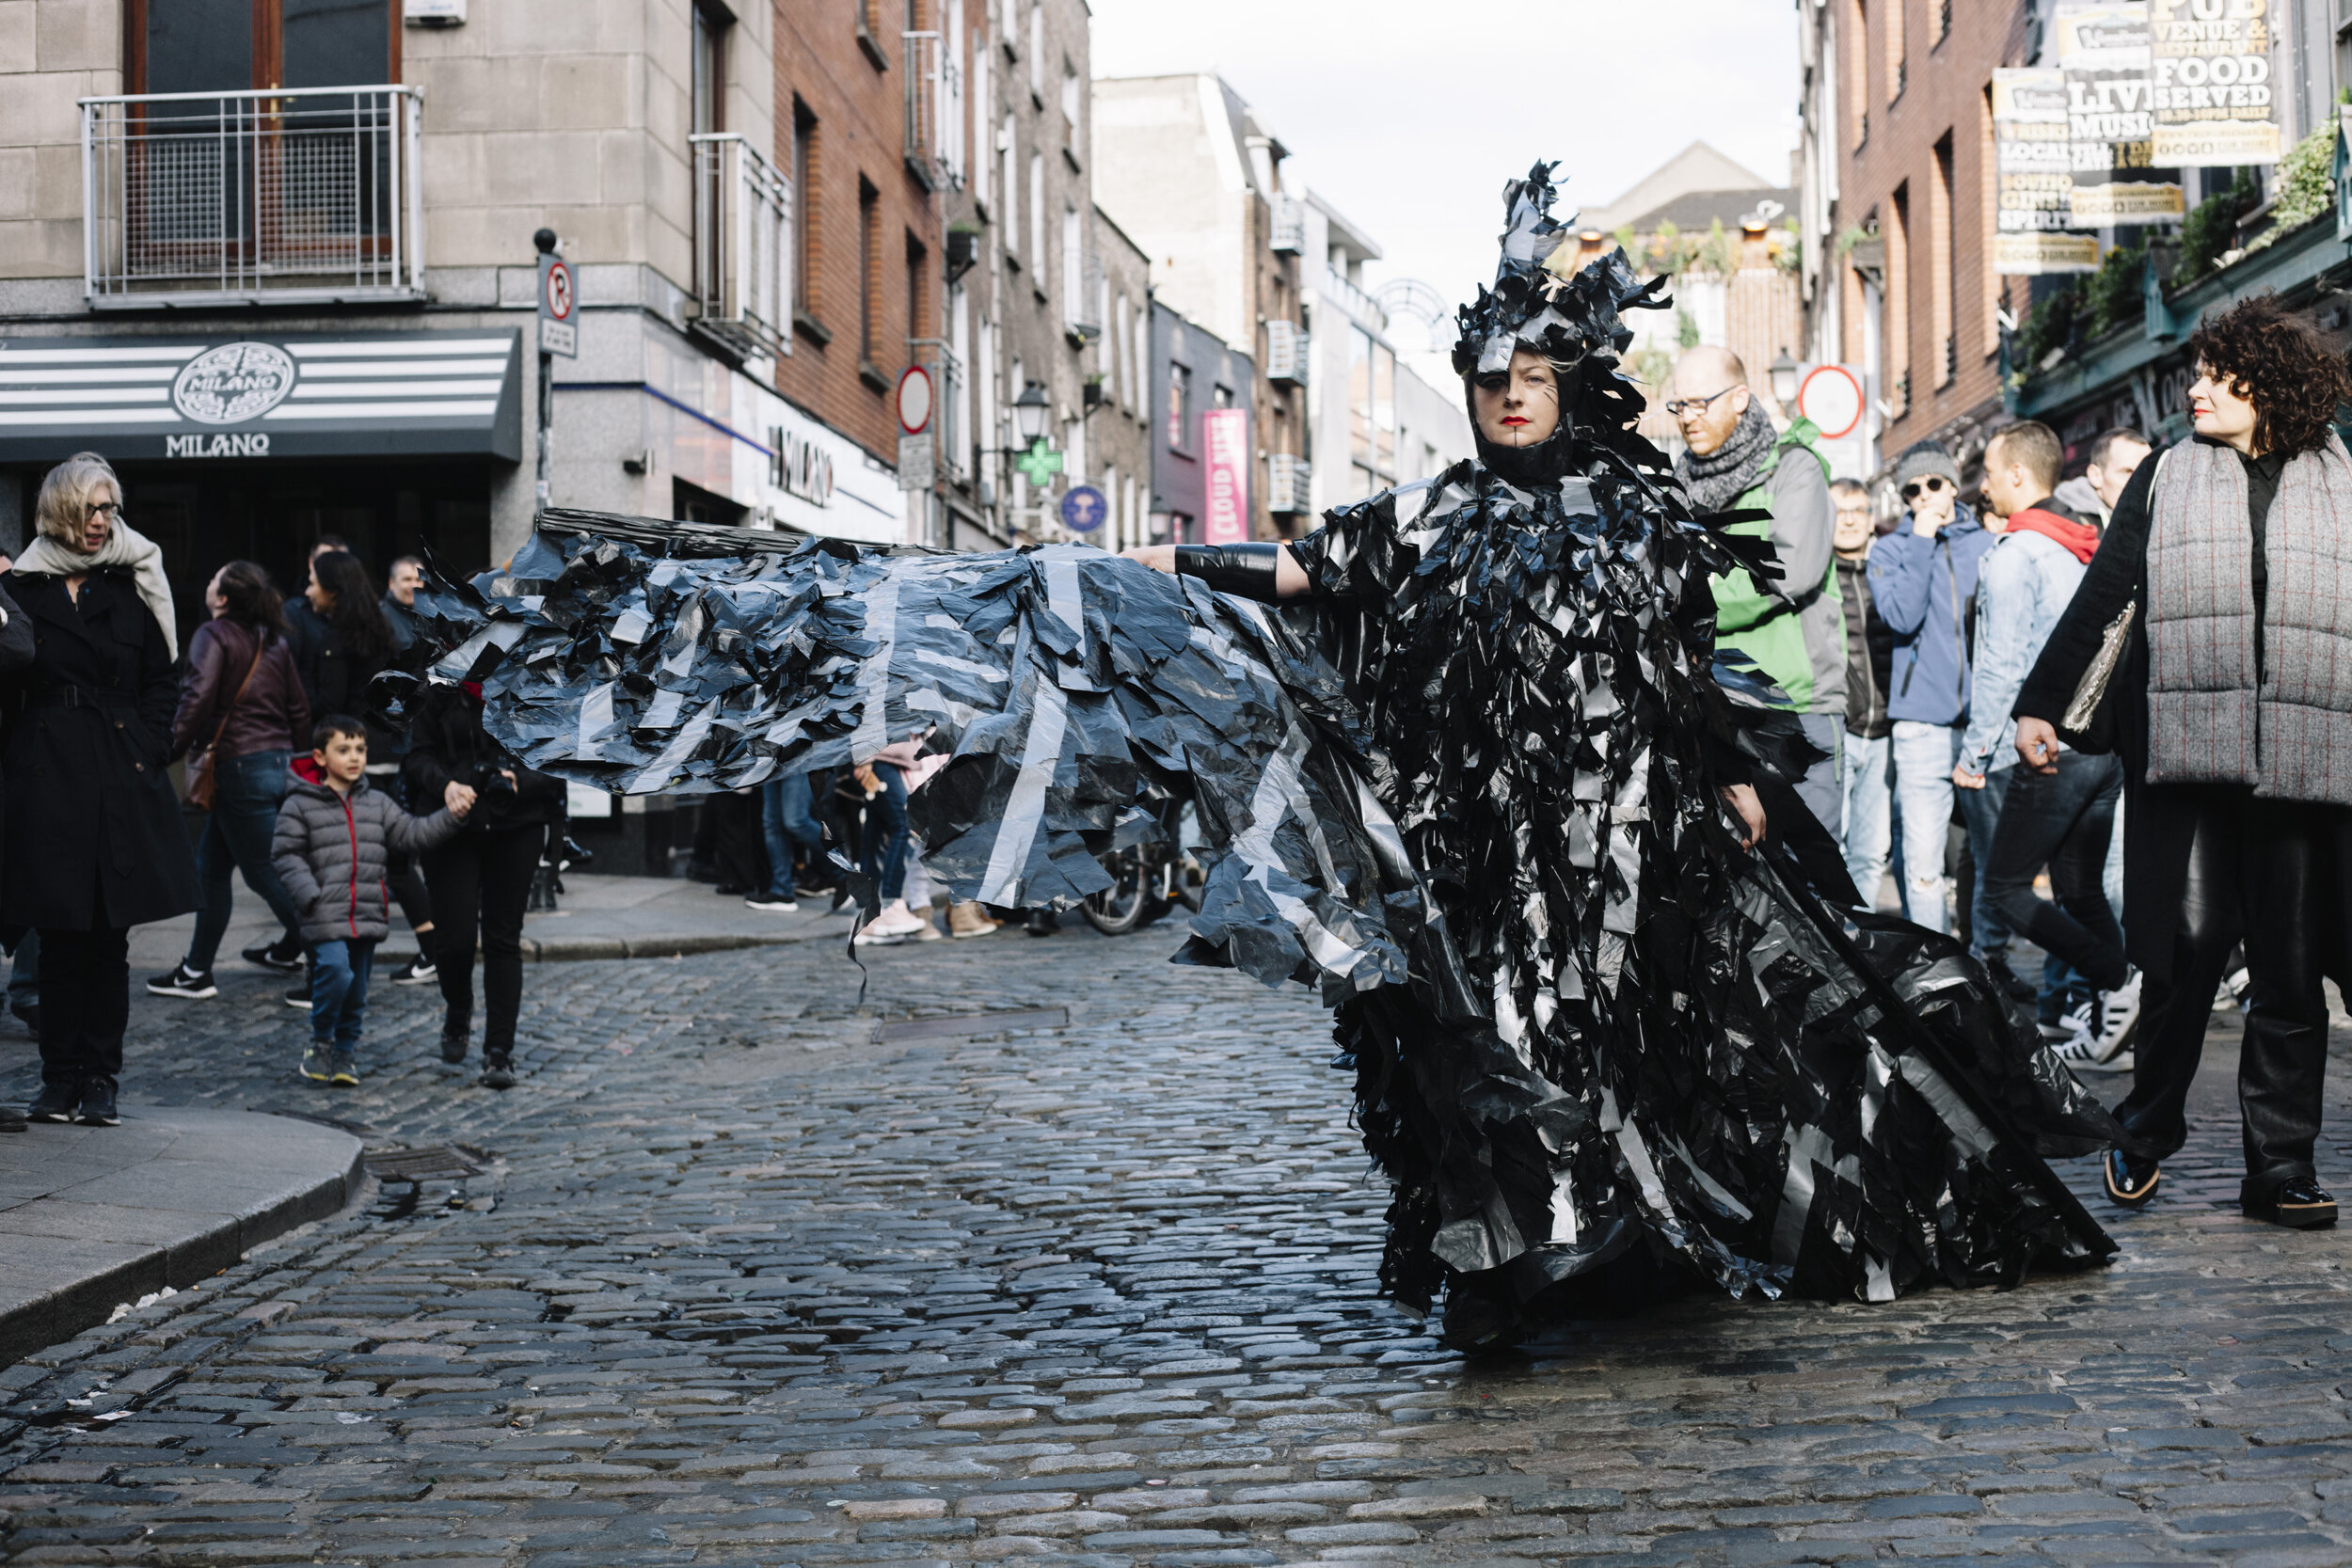
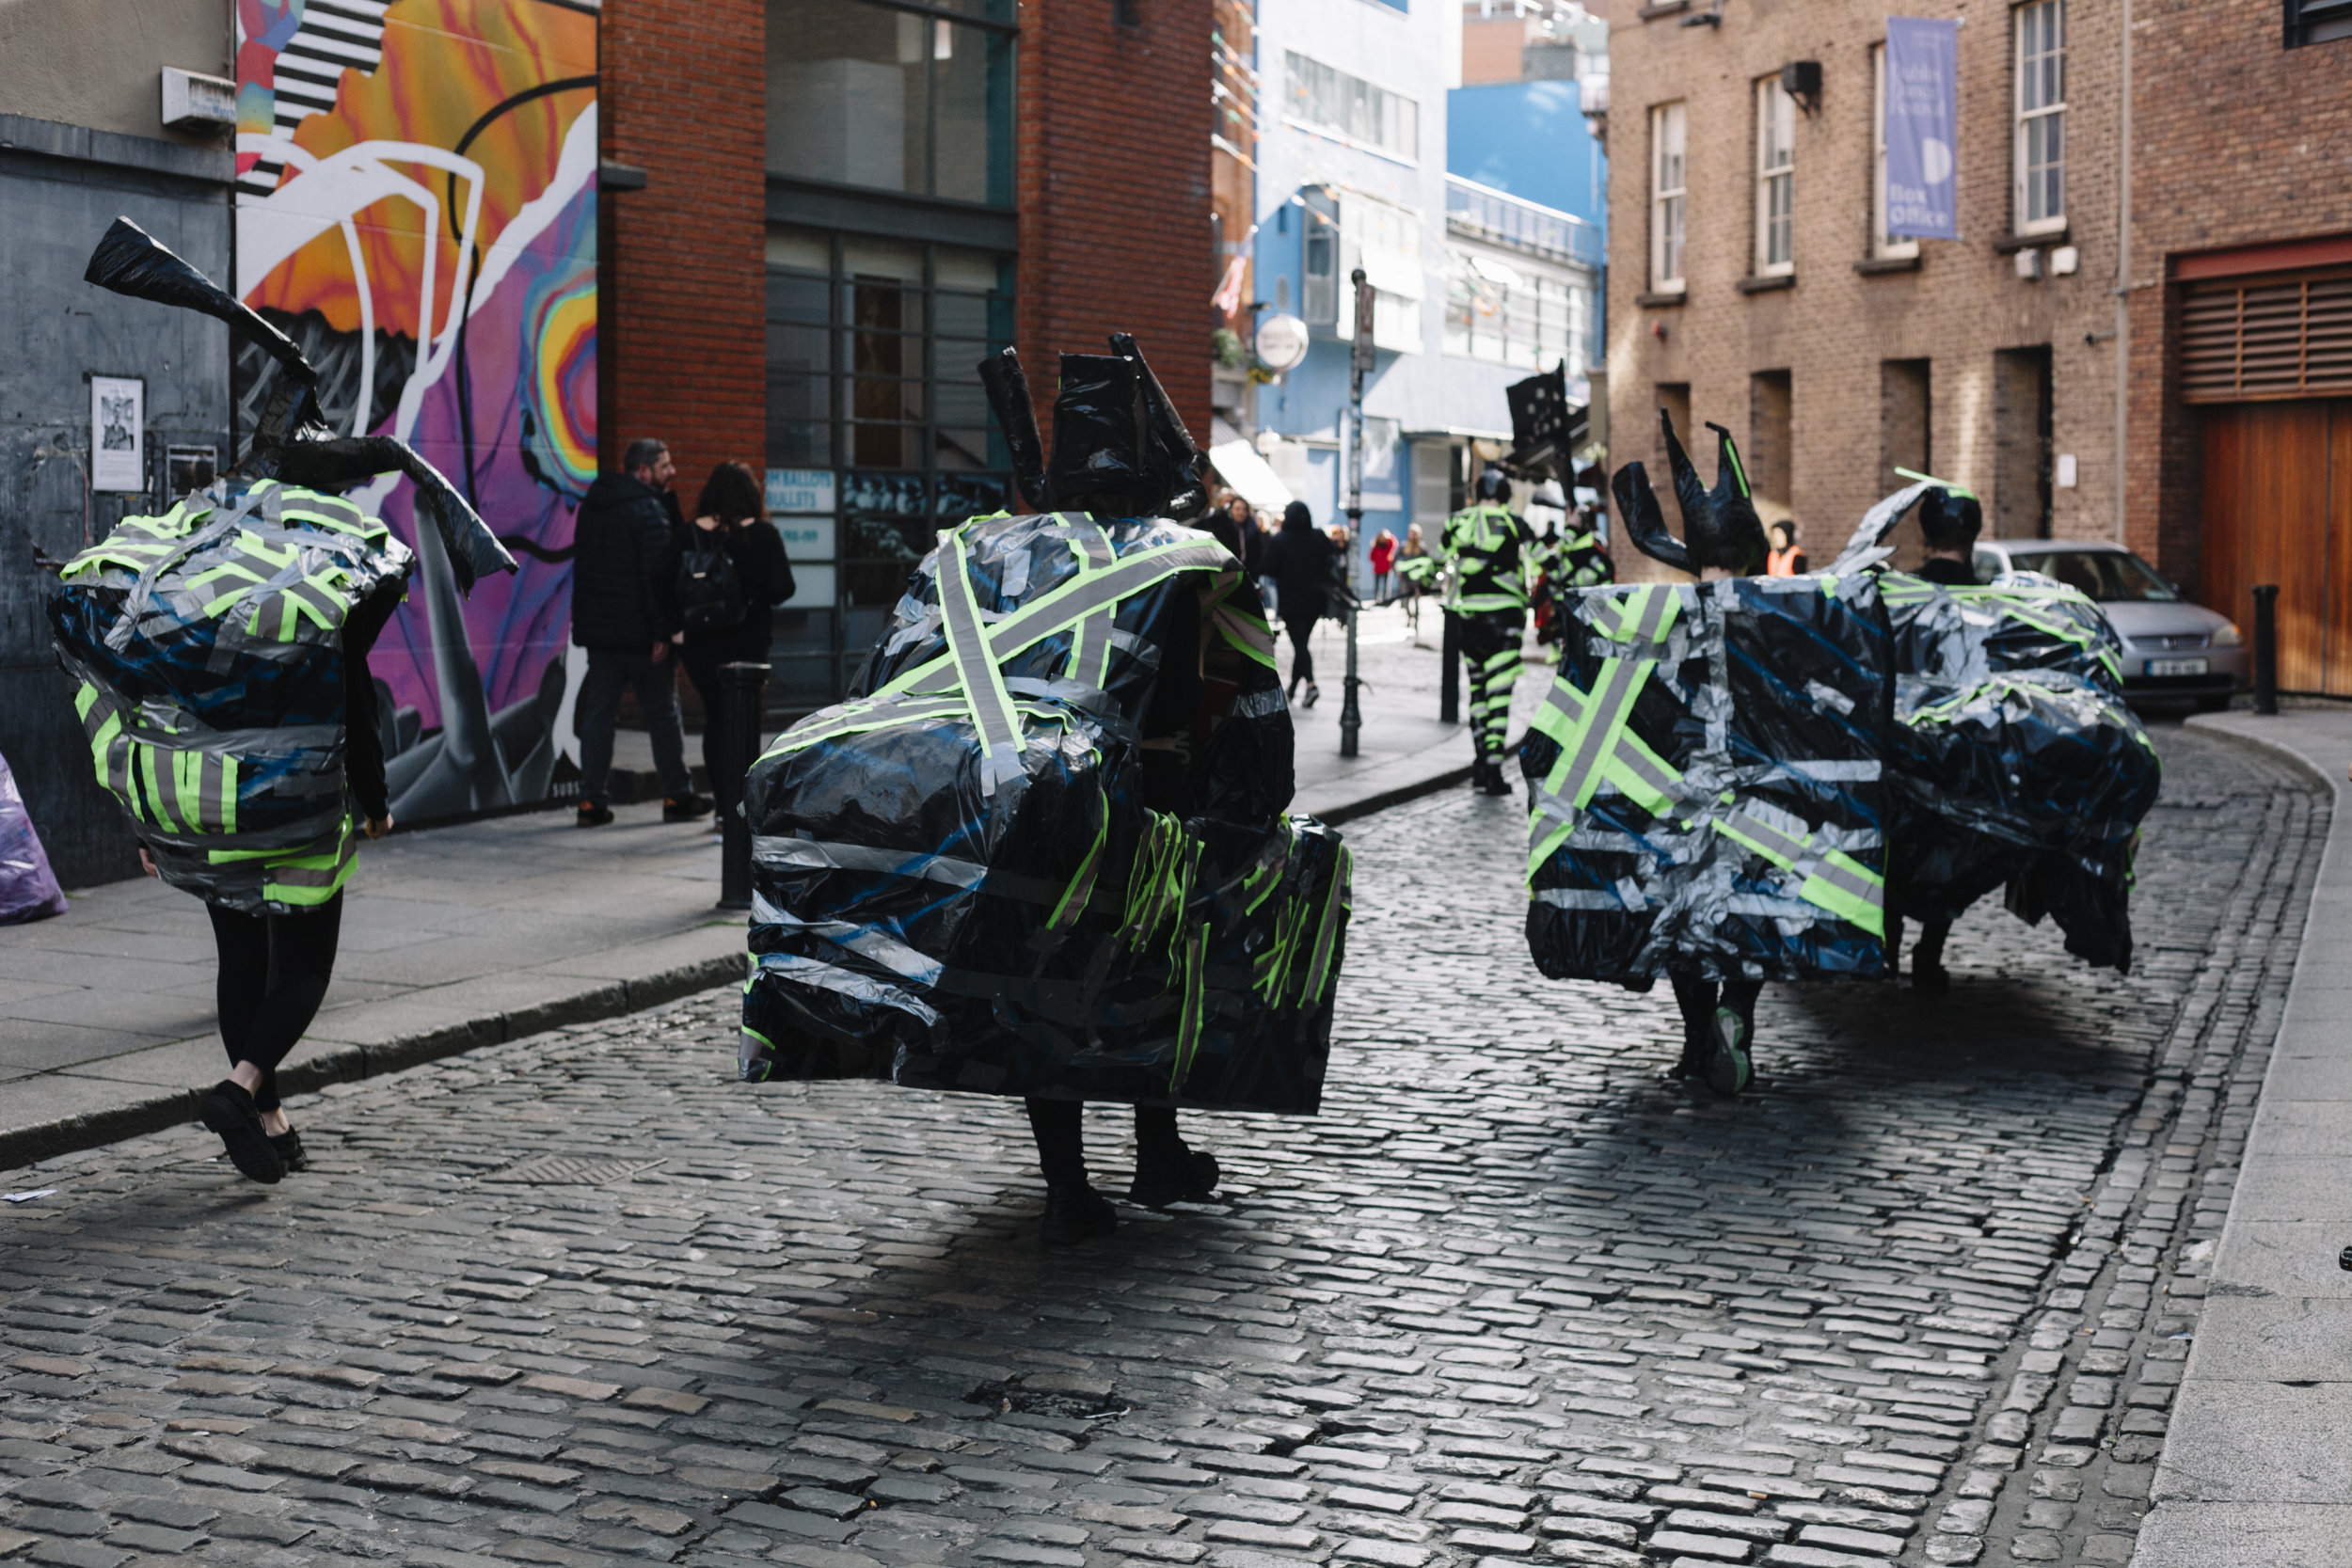
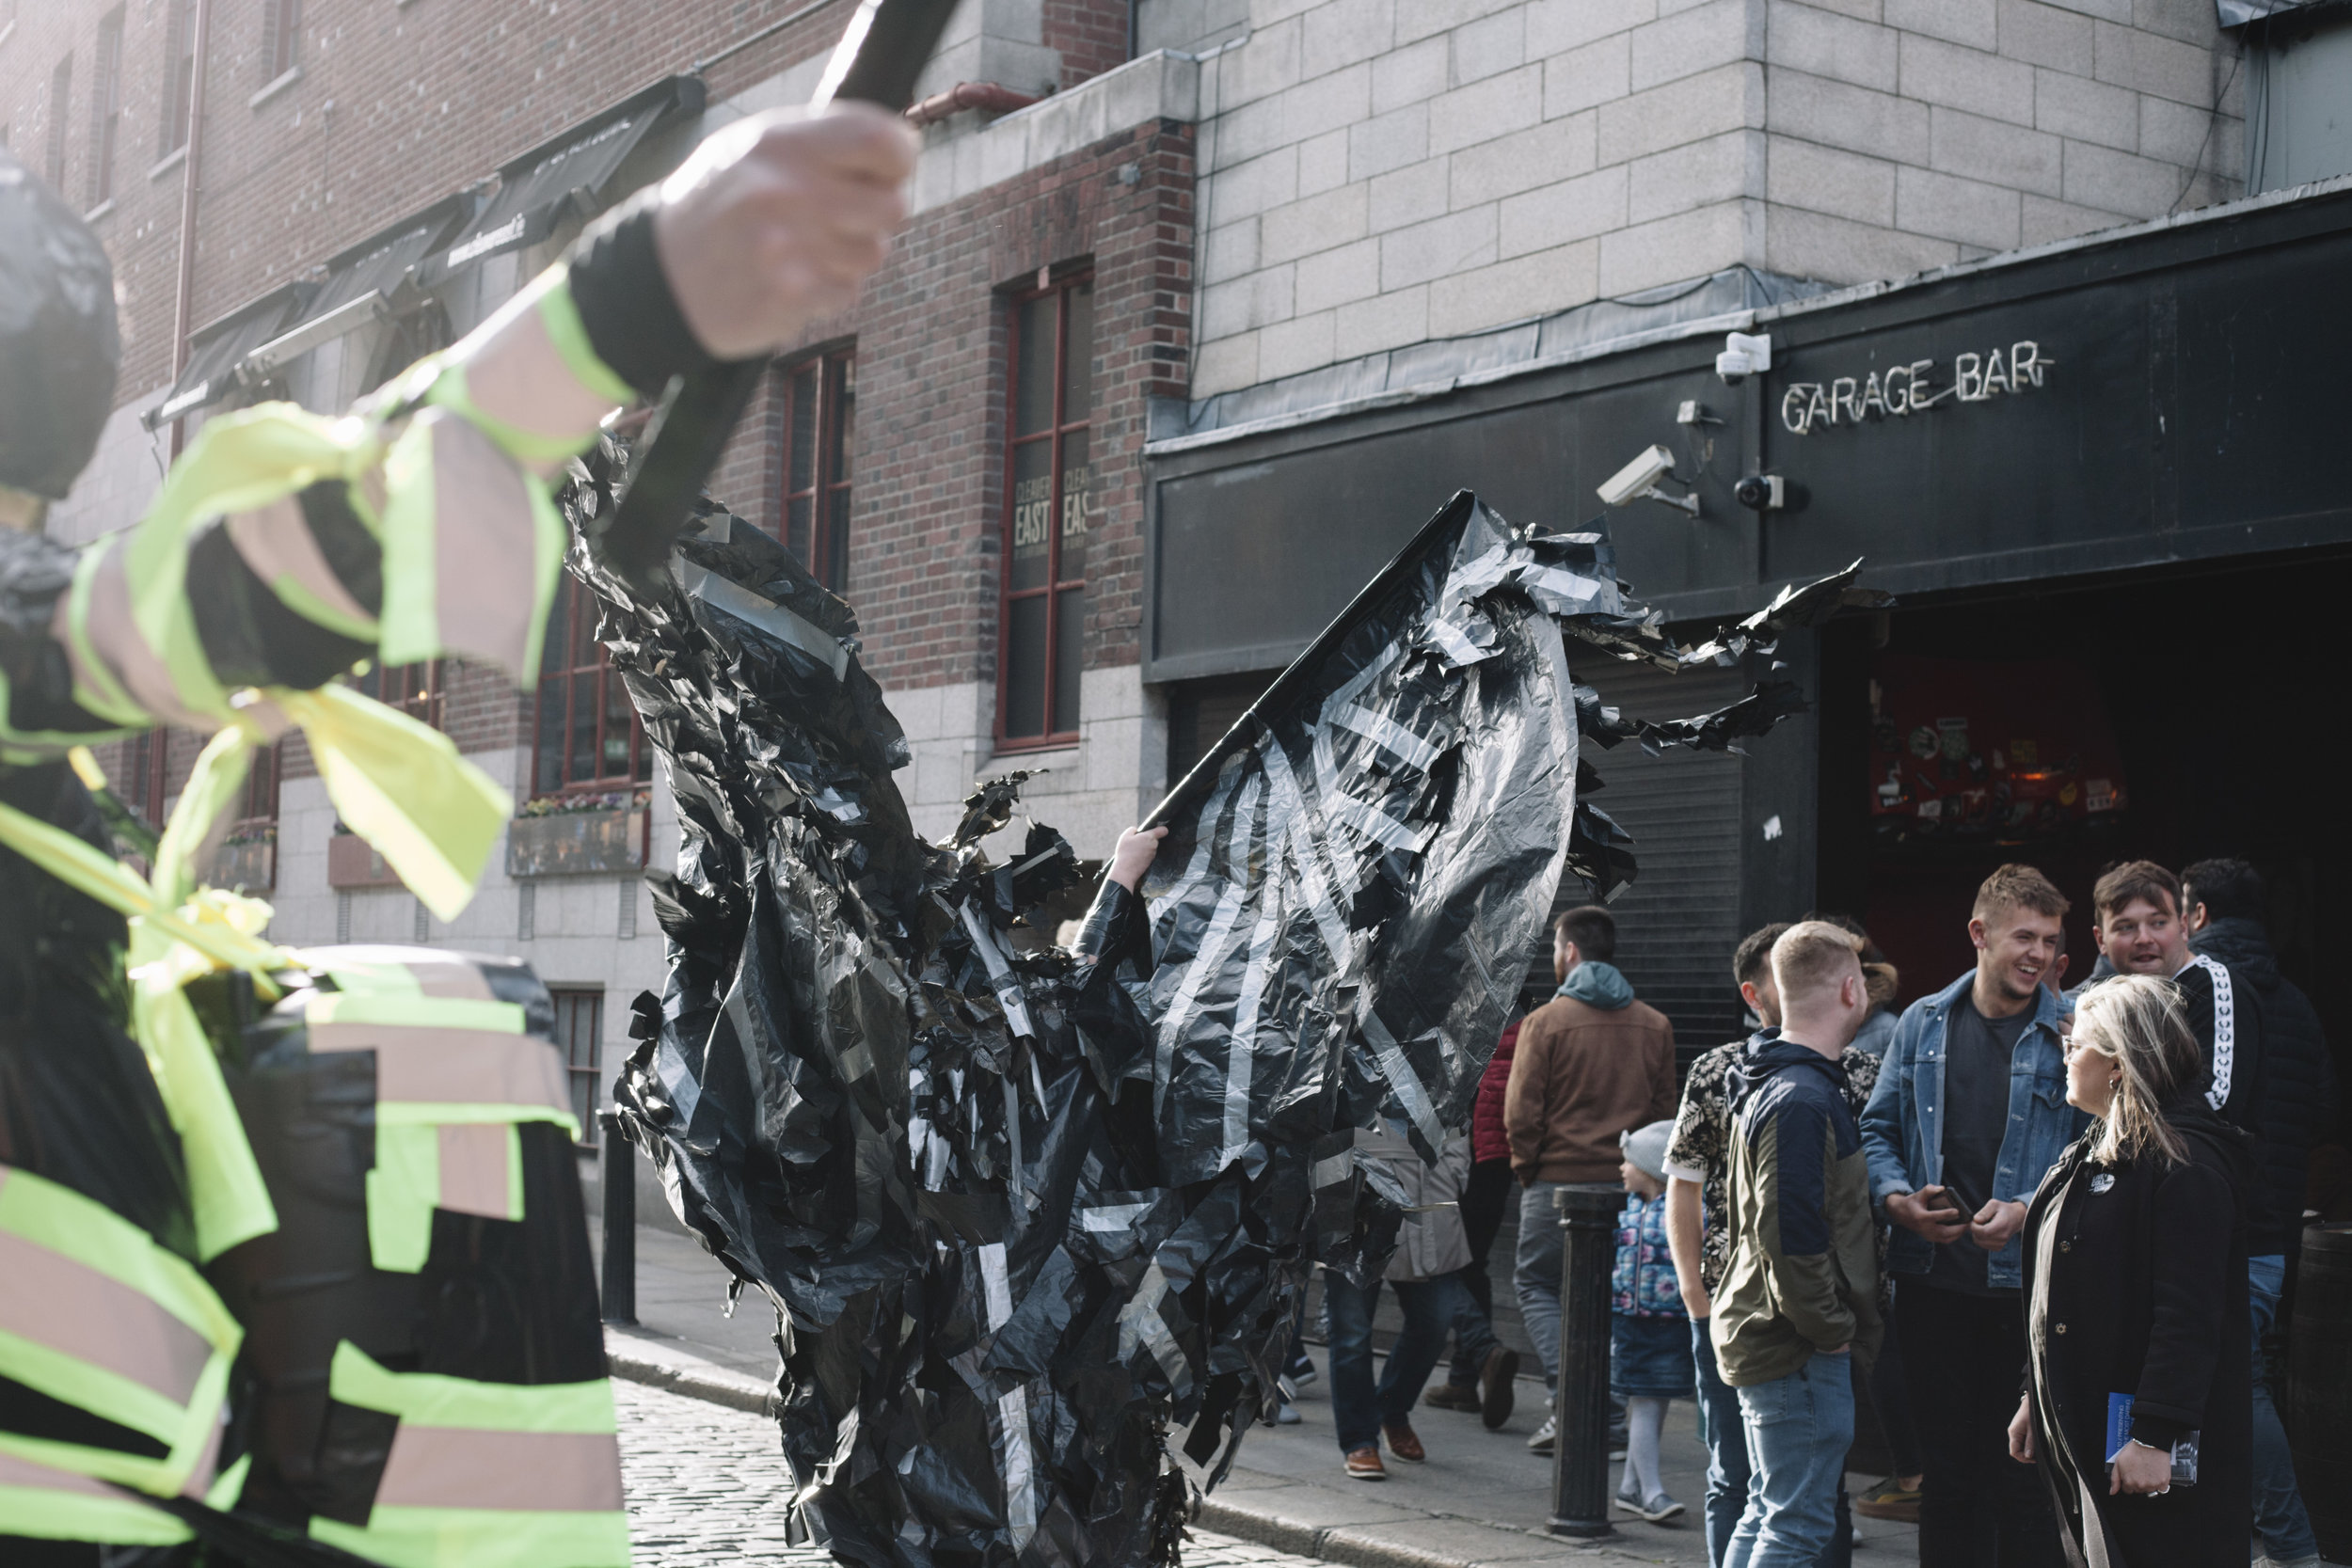
Live Installation - Performance, Rally, View of Morrigan, Temple Bar Gallery + Project Arts Center
Image: Declan Kelly
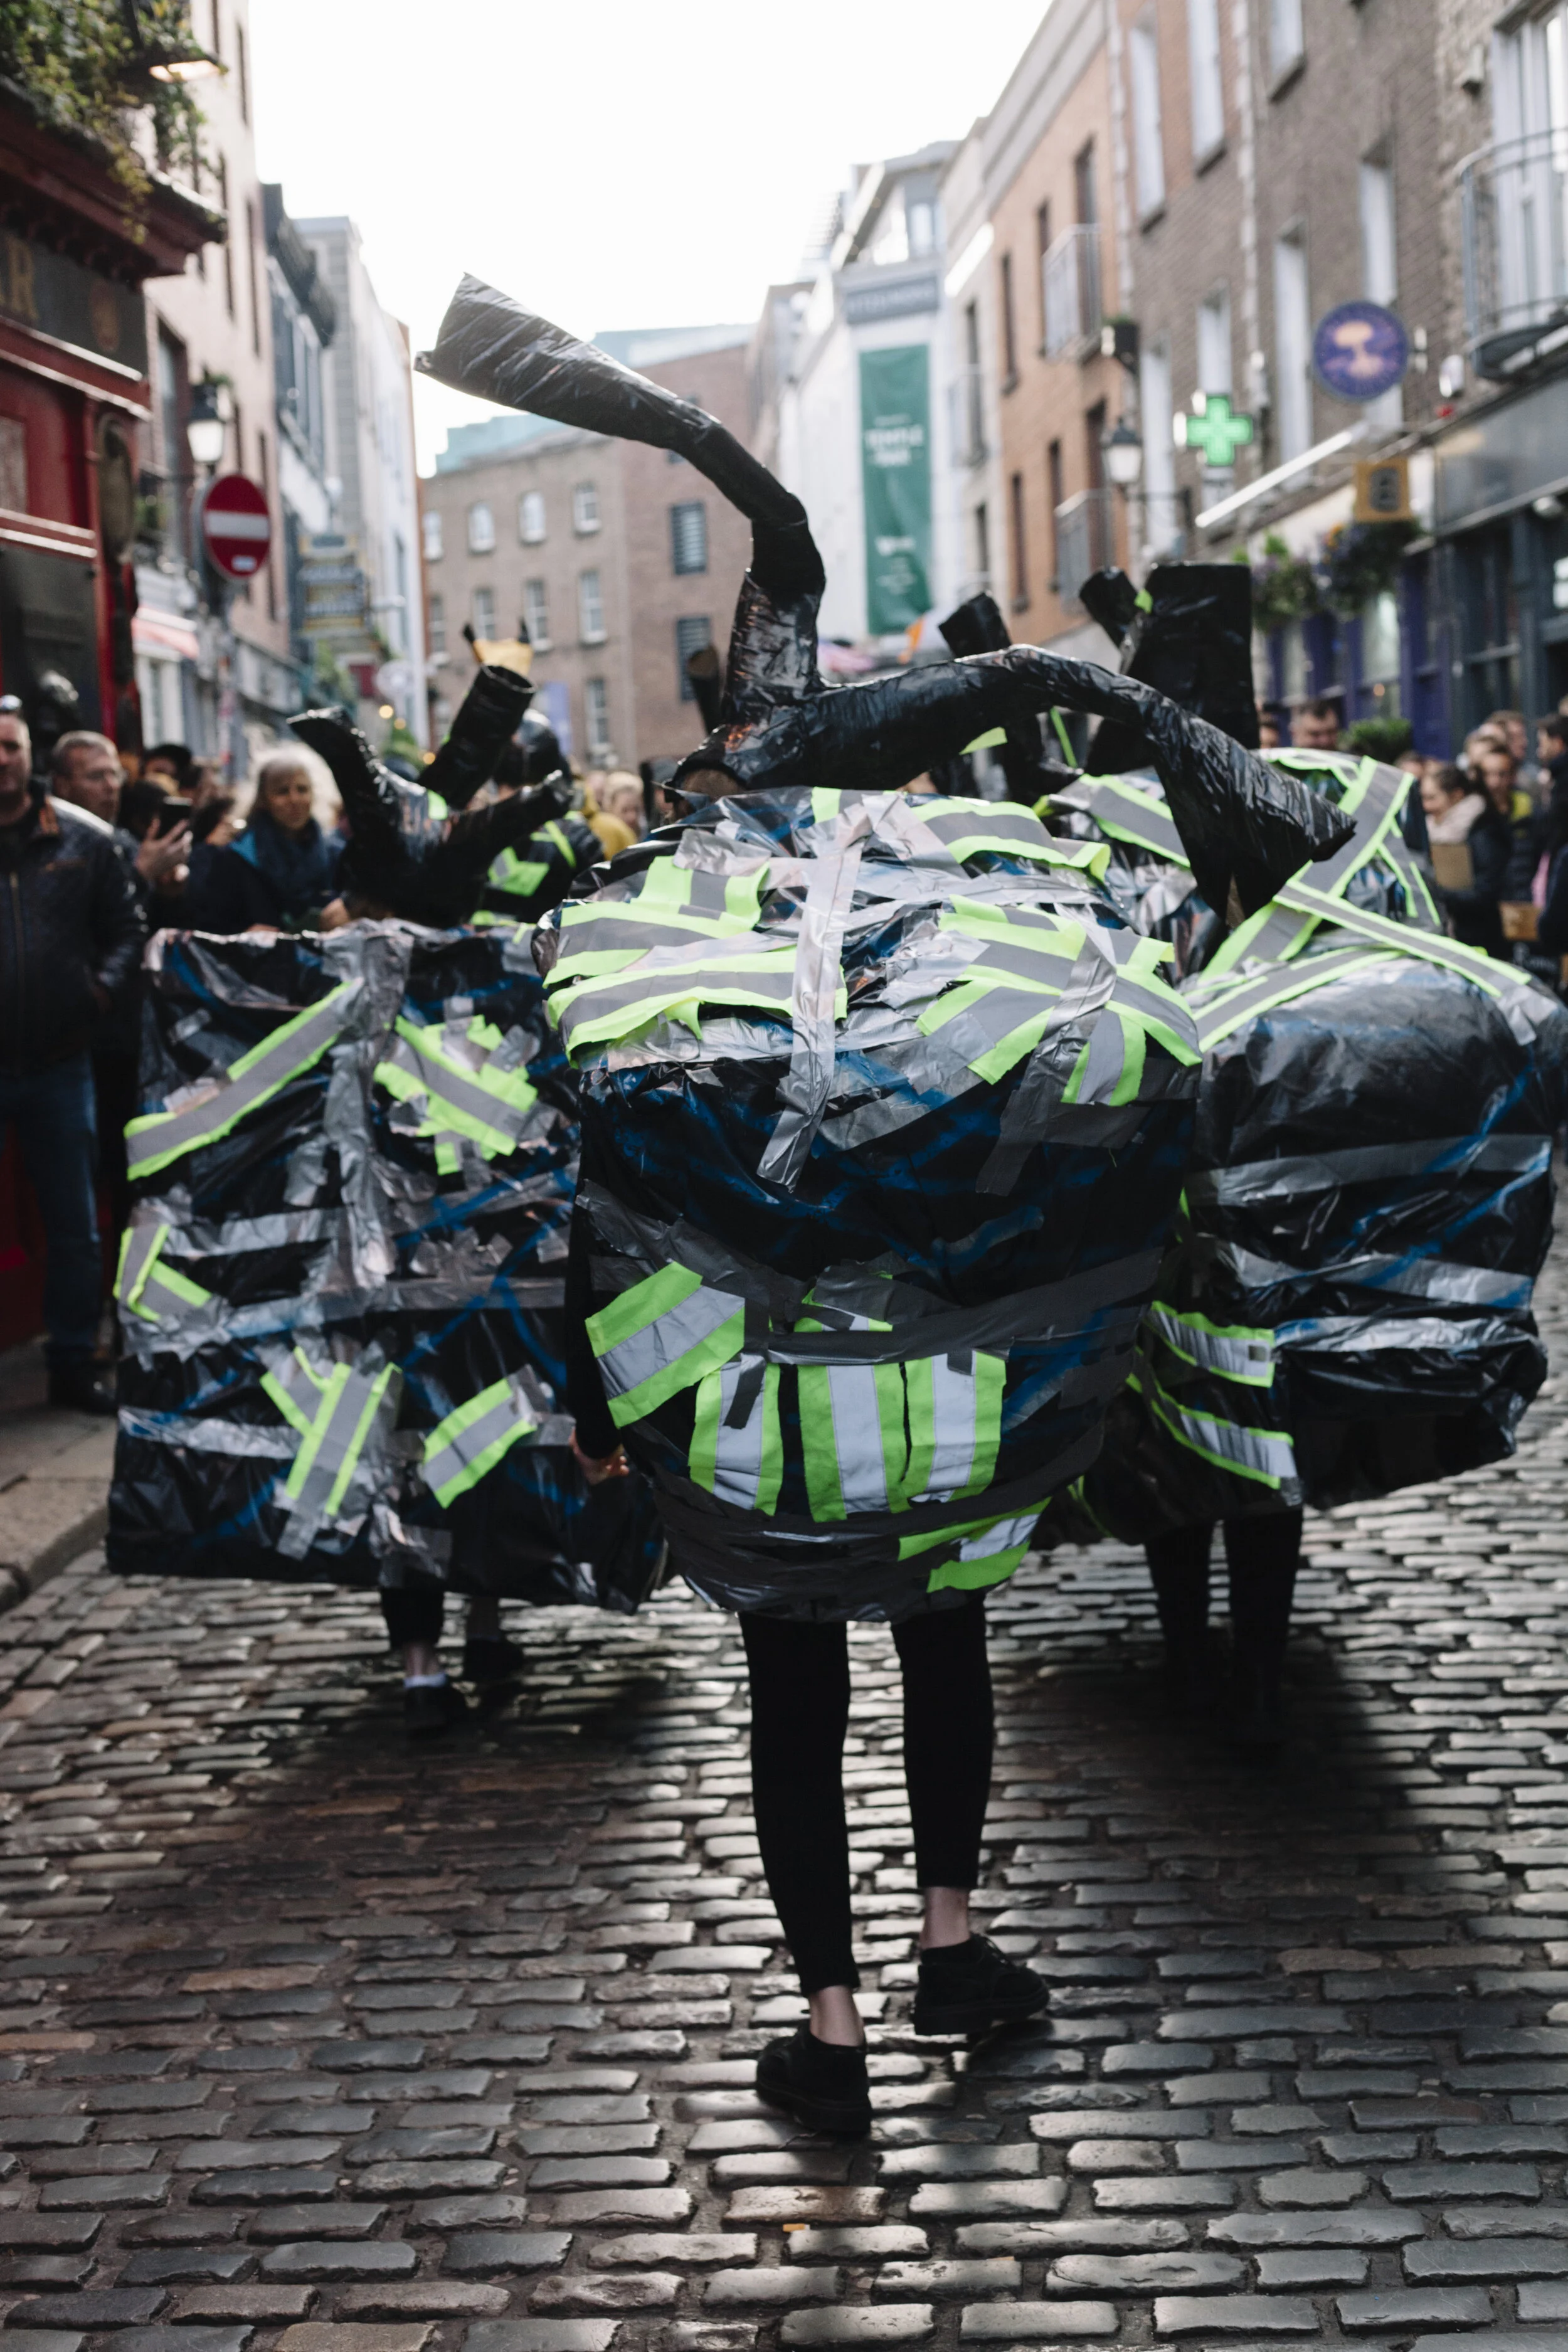
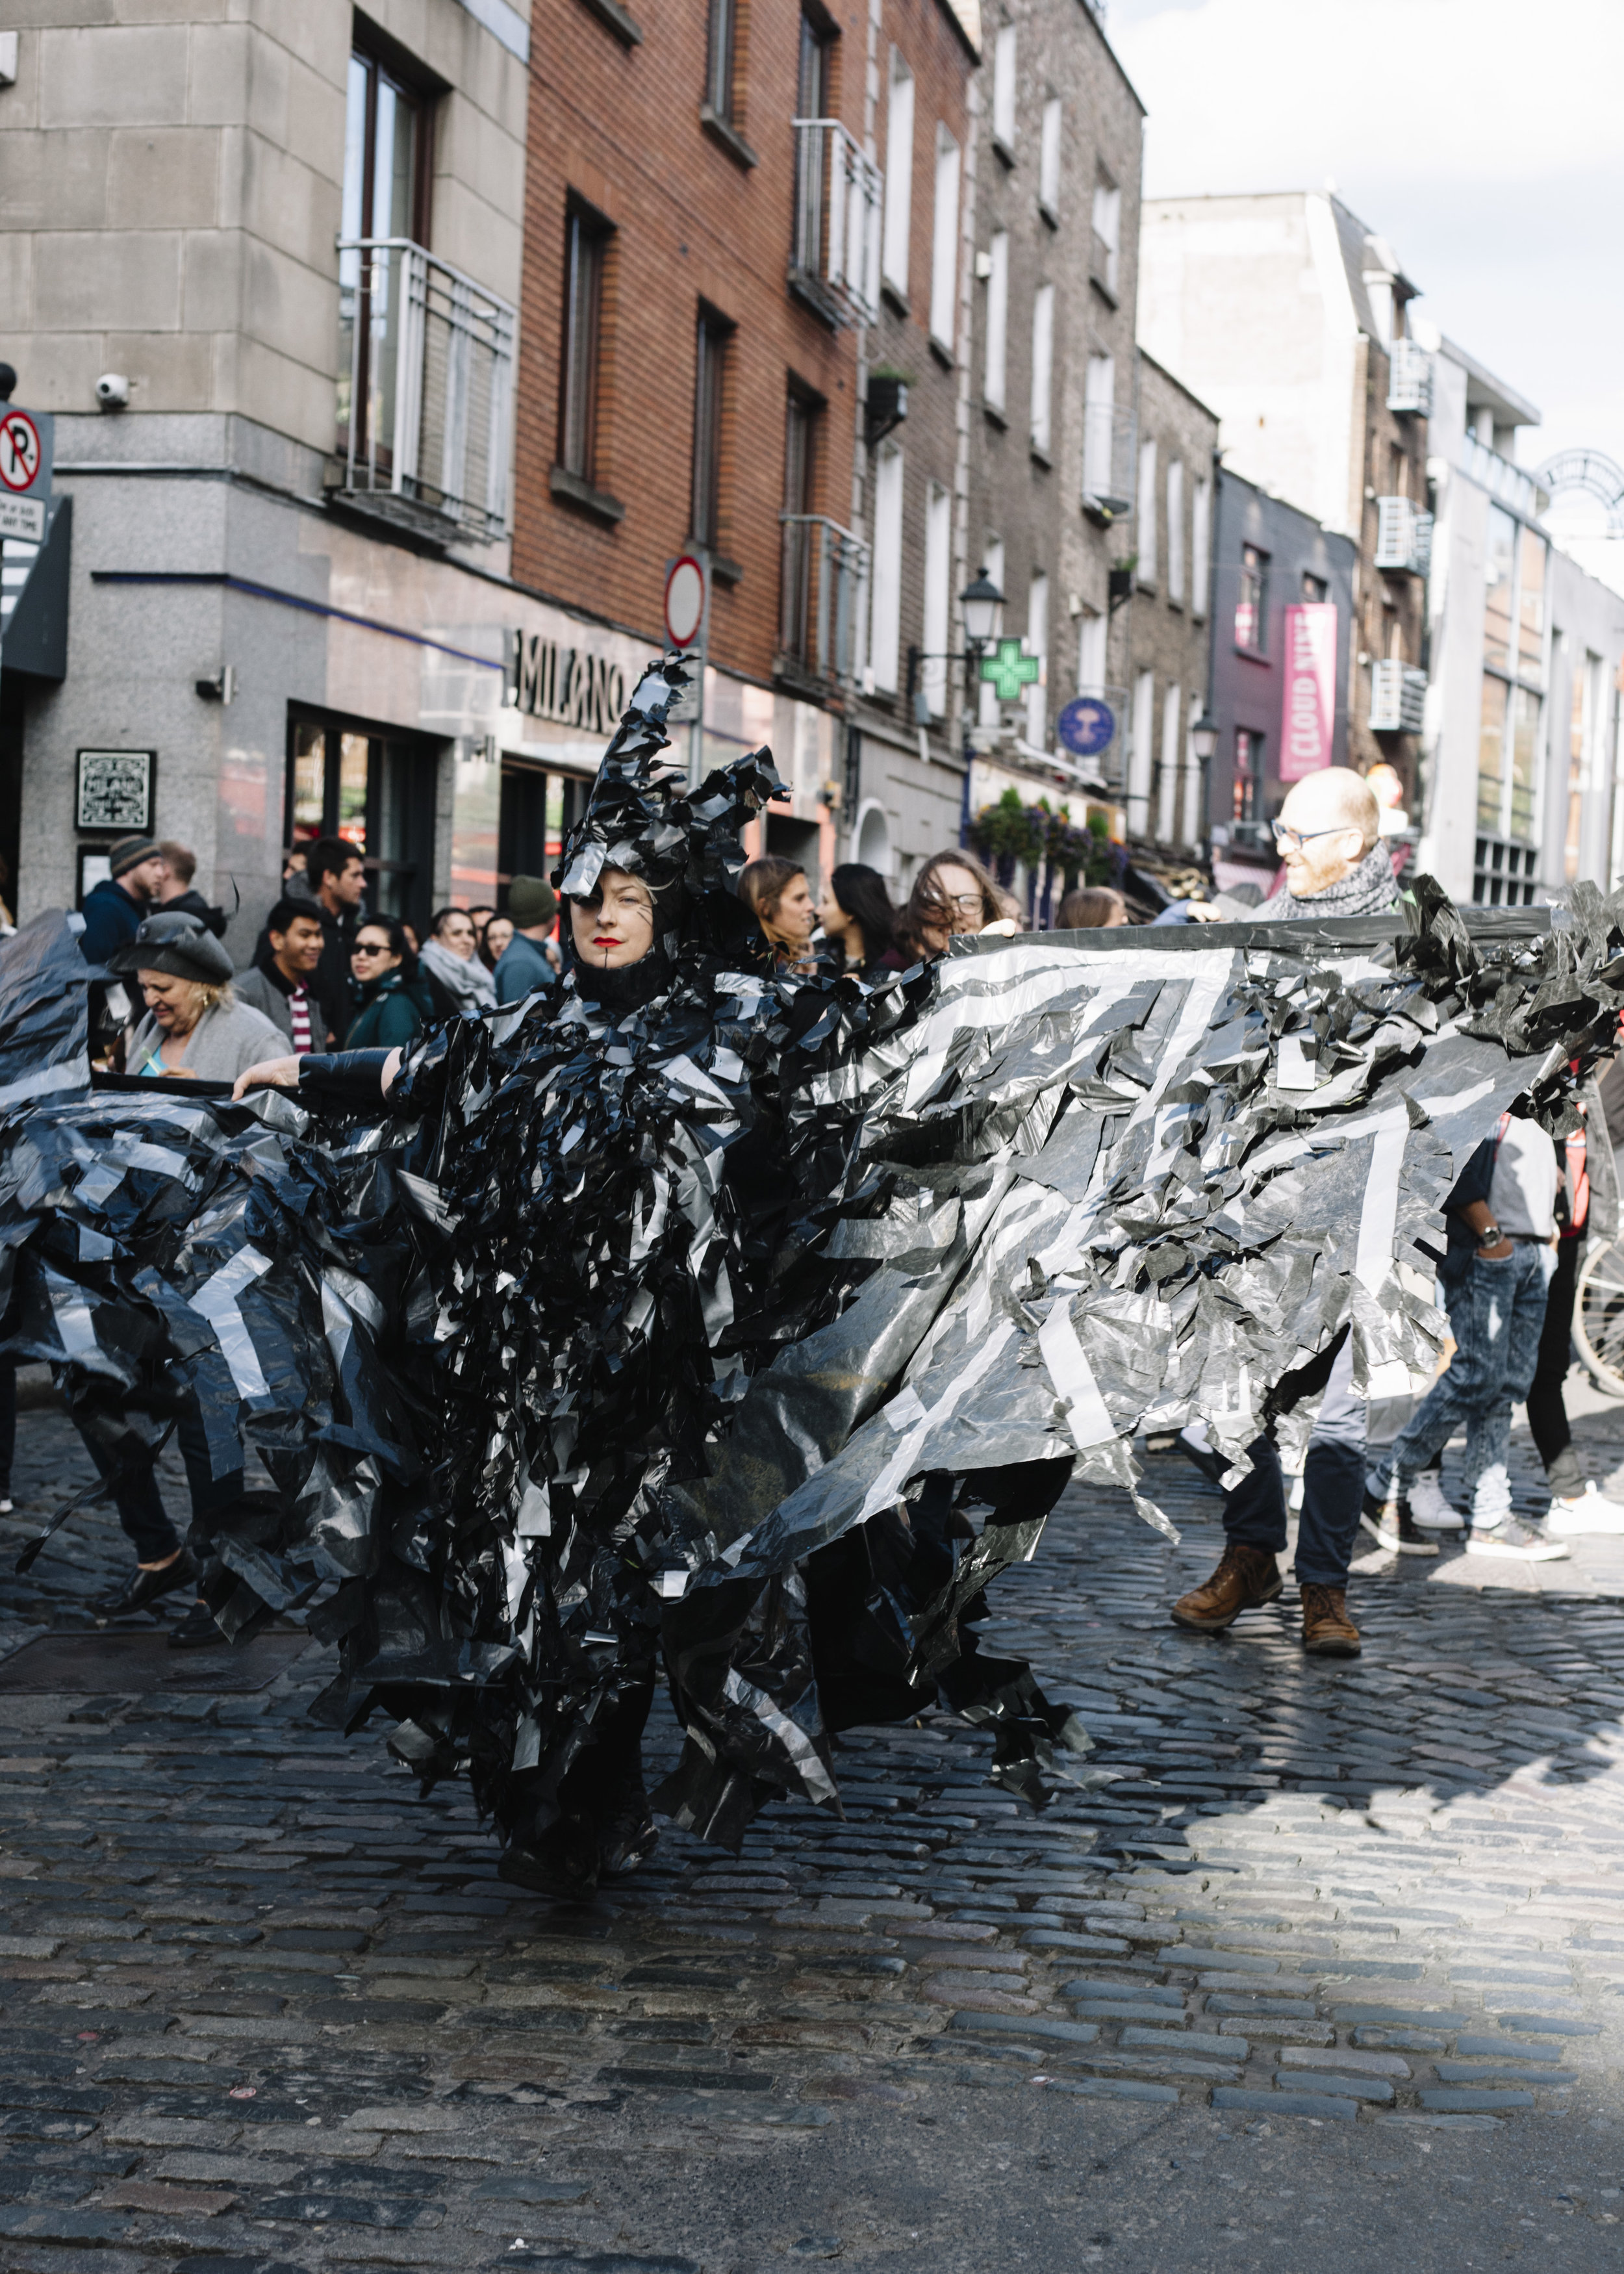
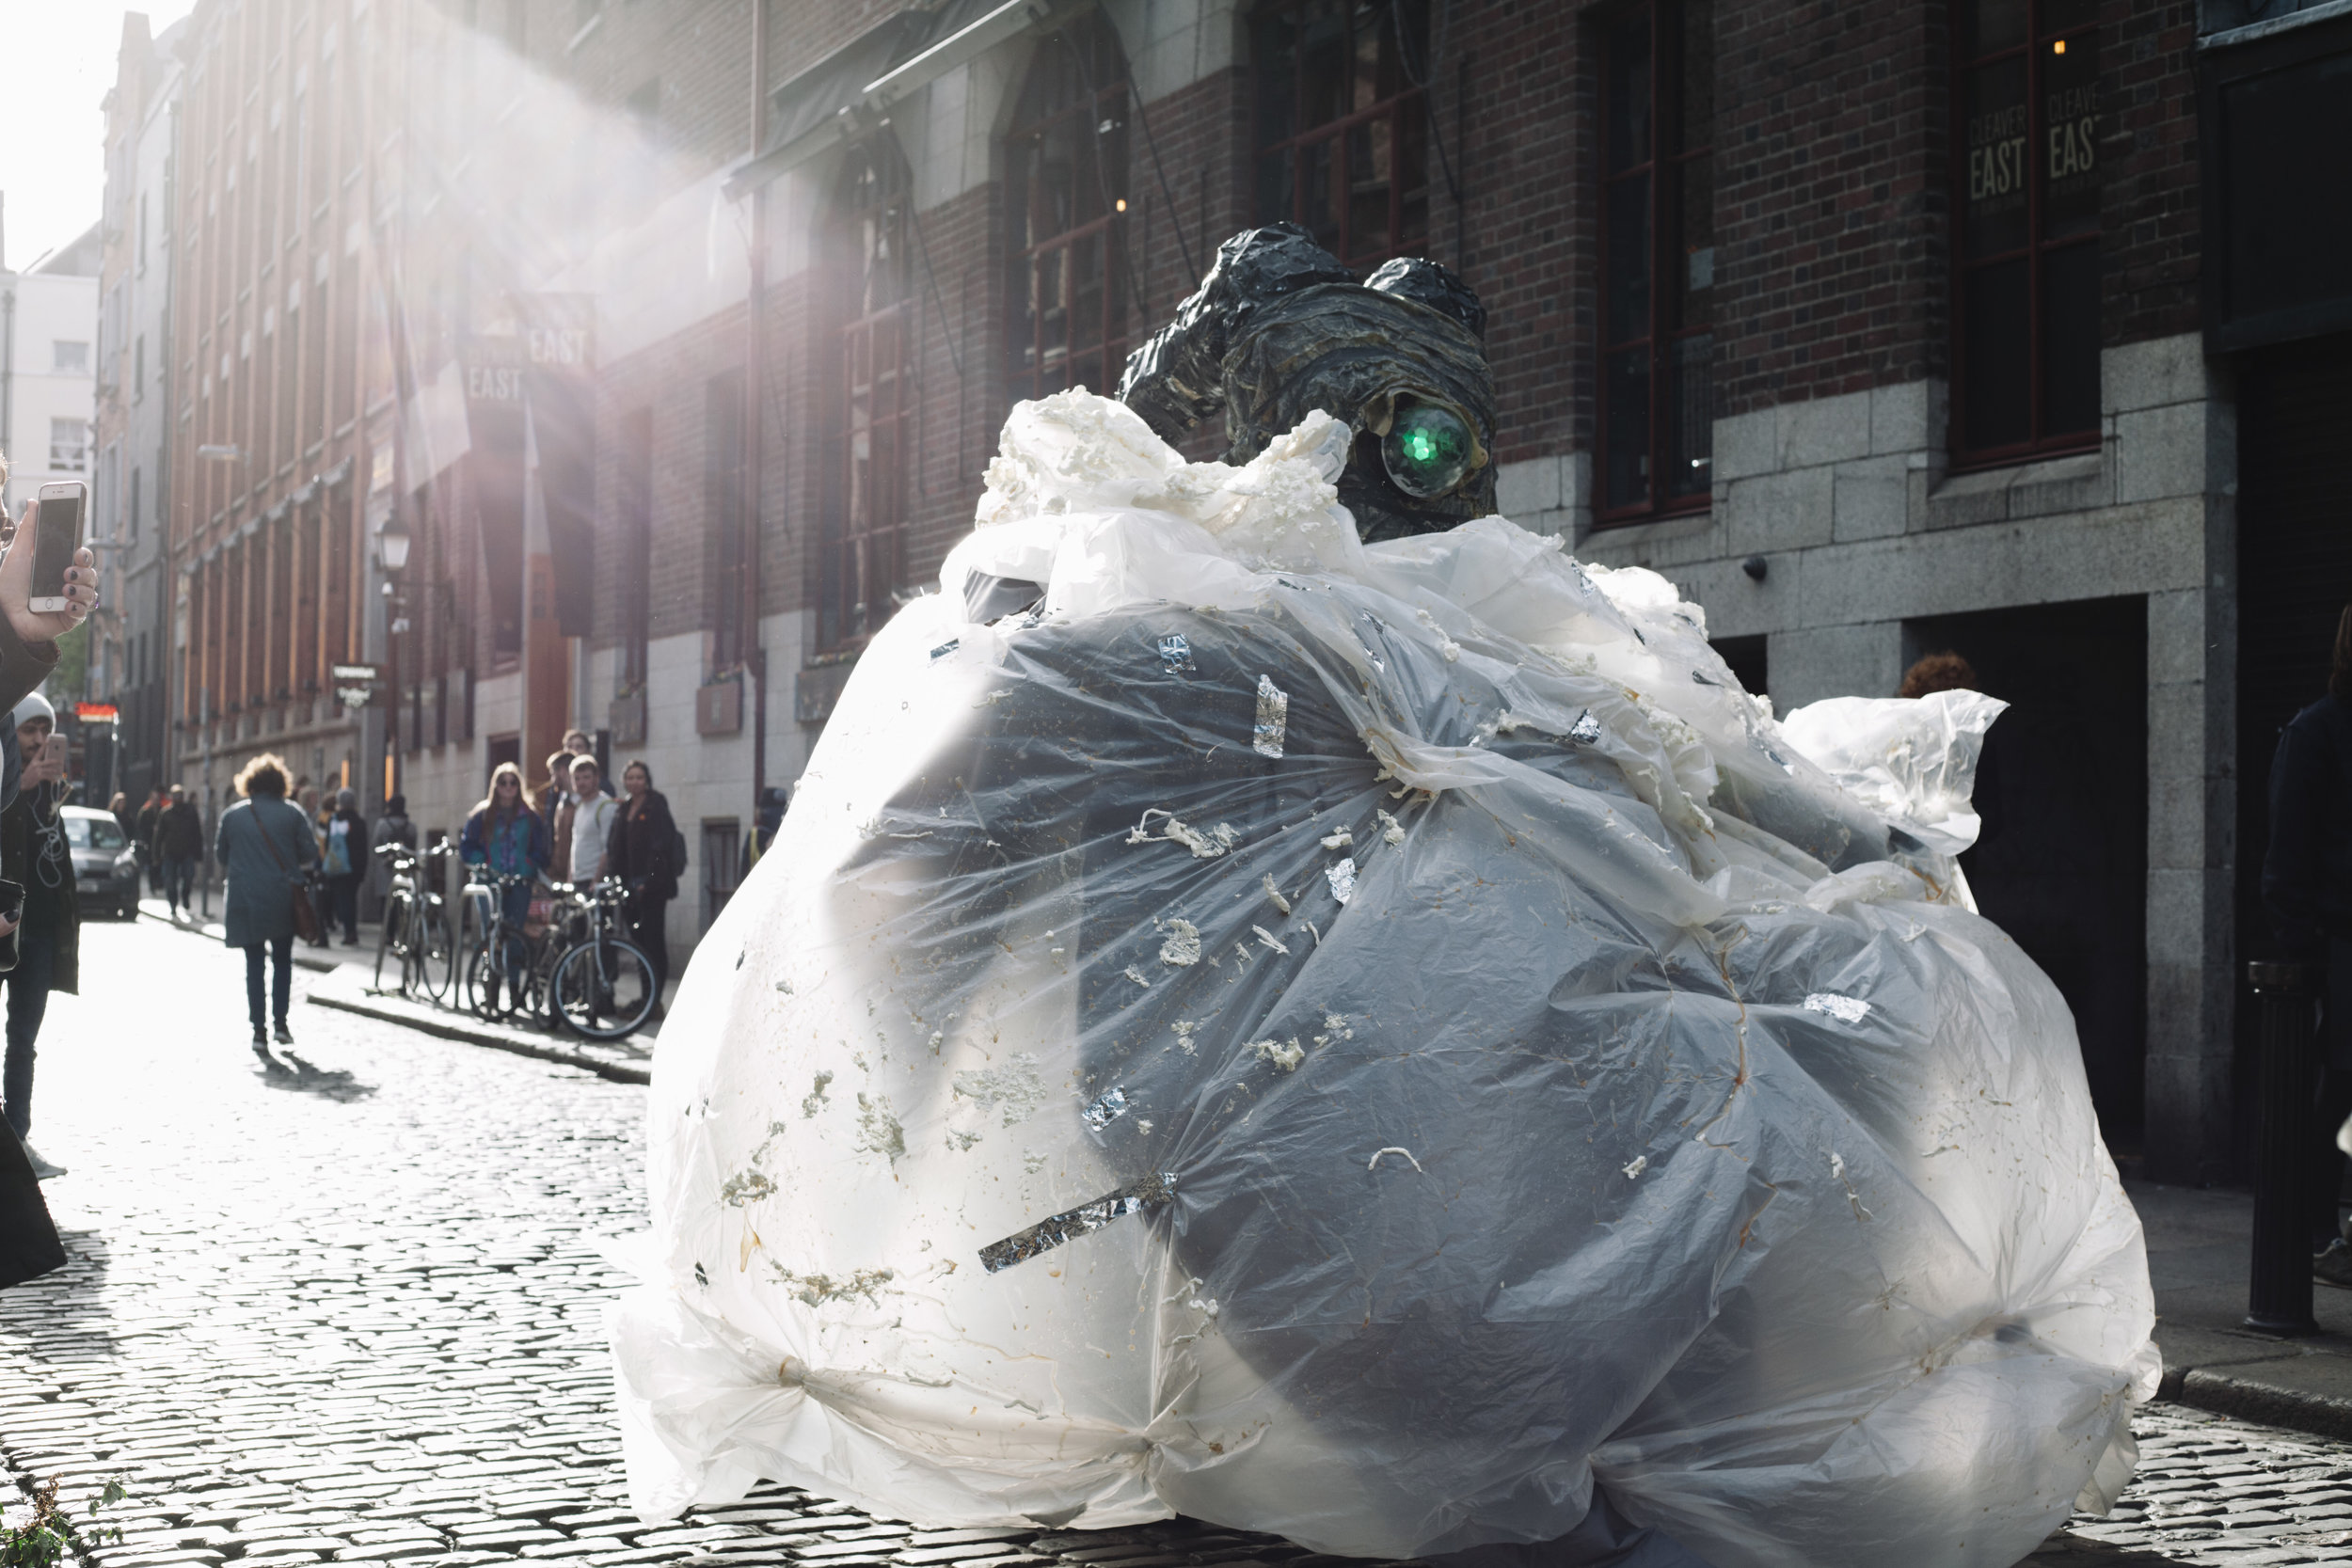
Live Installation - Performance, Rally, view of Sirens, Temple Bar Gallery + Project Arts Center
Image Declan Kelly
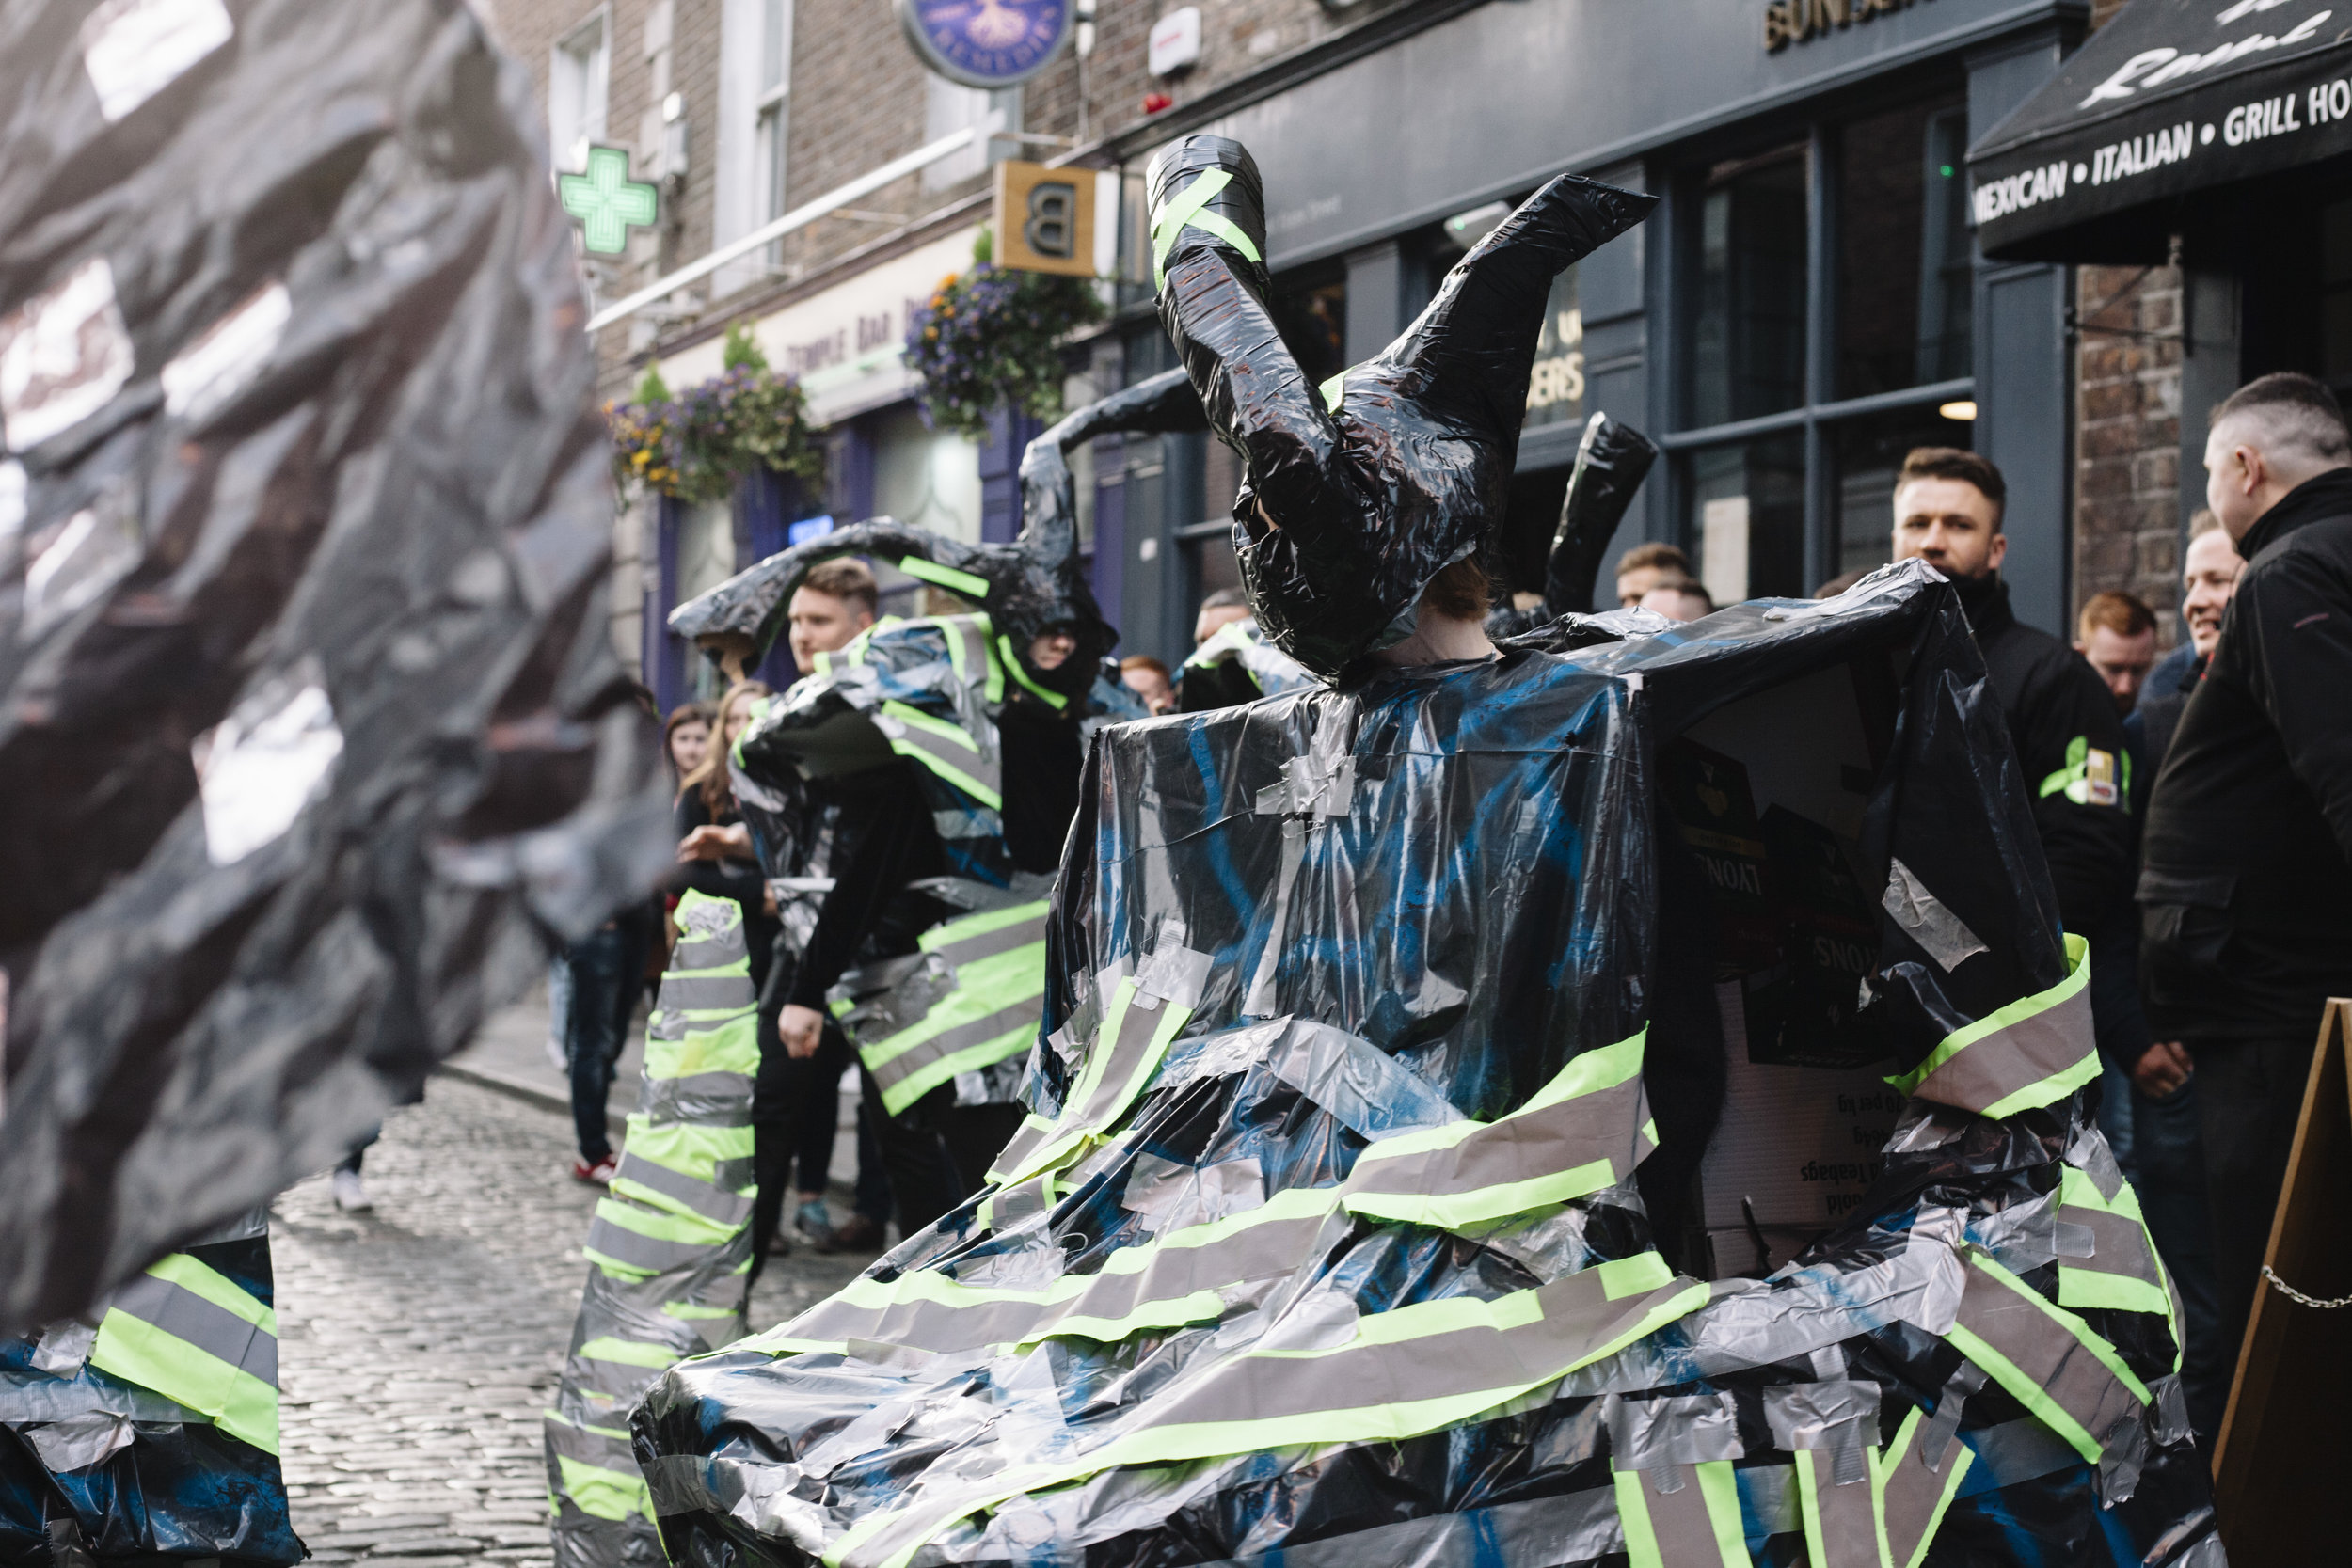
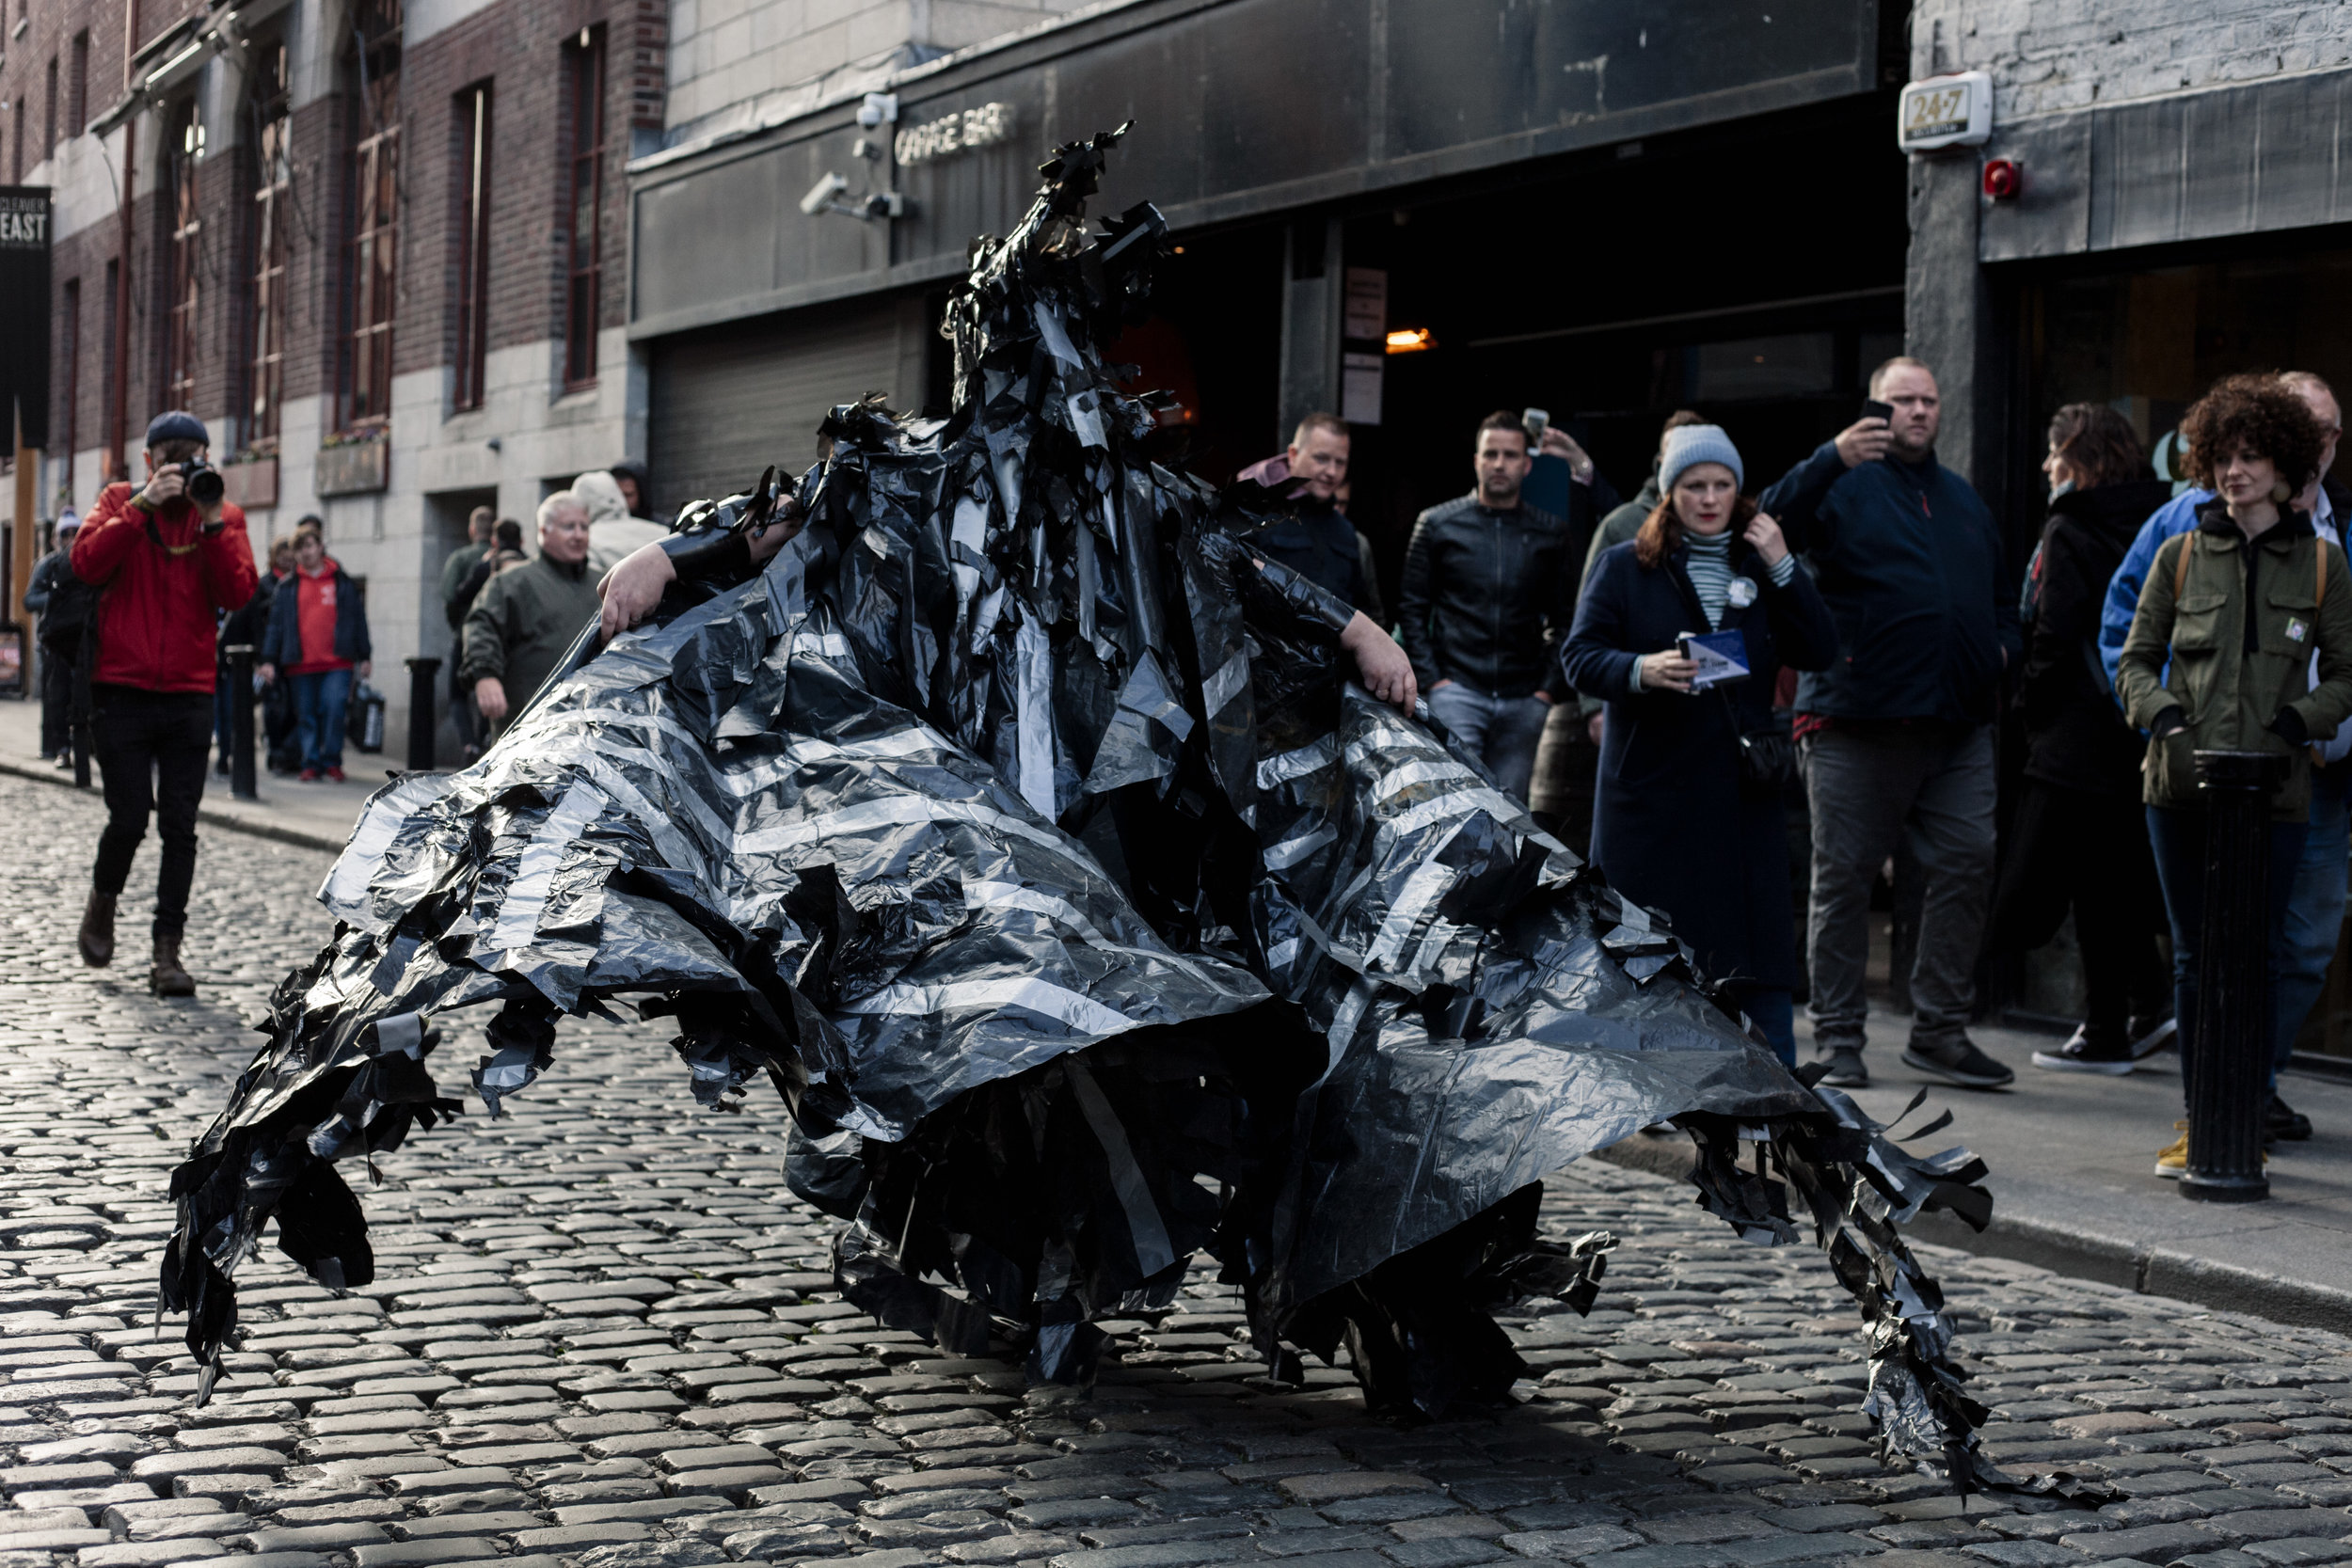
Live Installation - Performance, Rally, view of Sirens ‘diffing’, Temple Bar Gallery + Project Arts Center
Image Declan Kelly
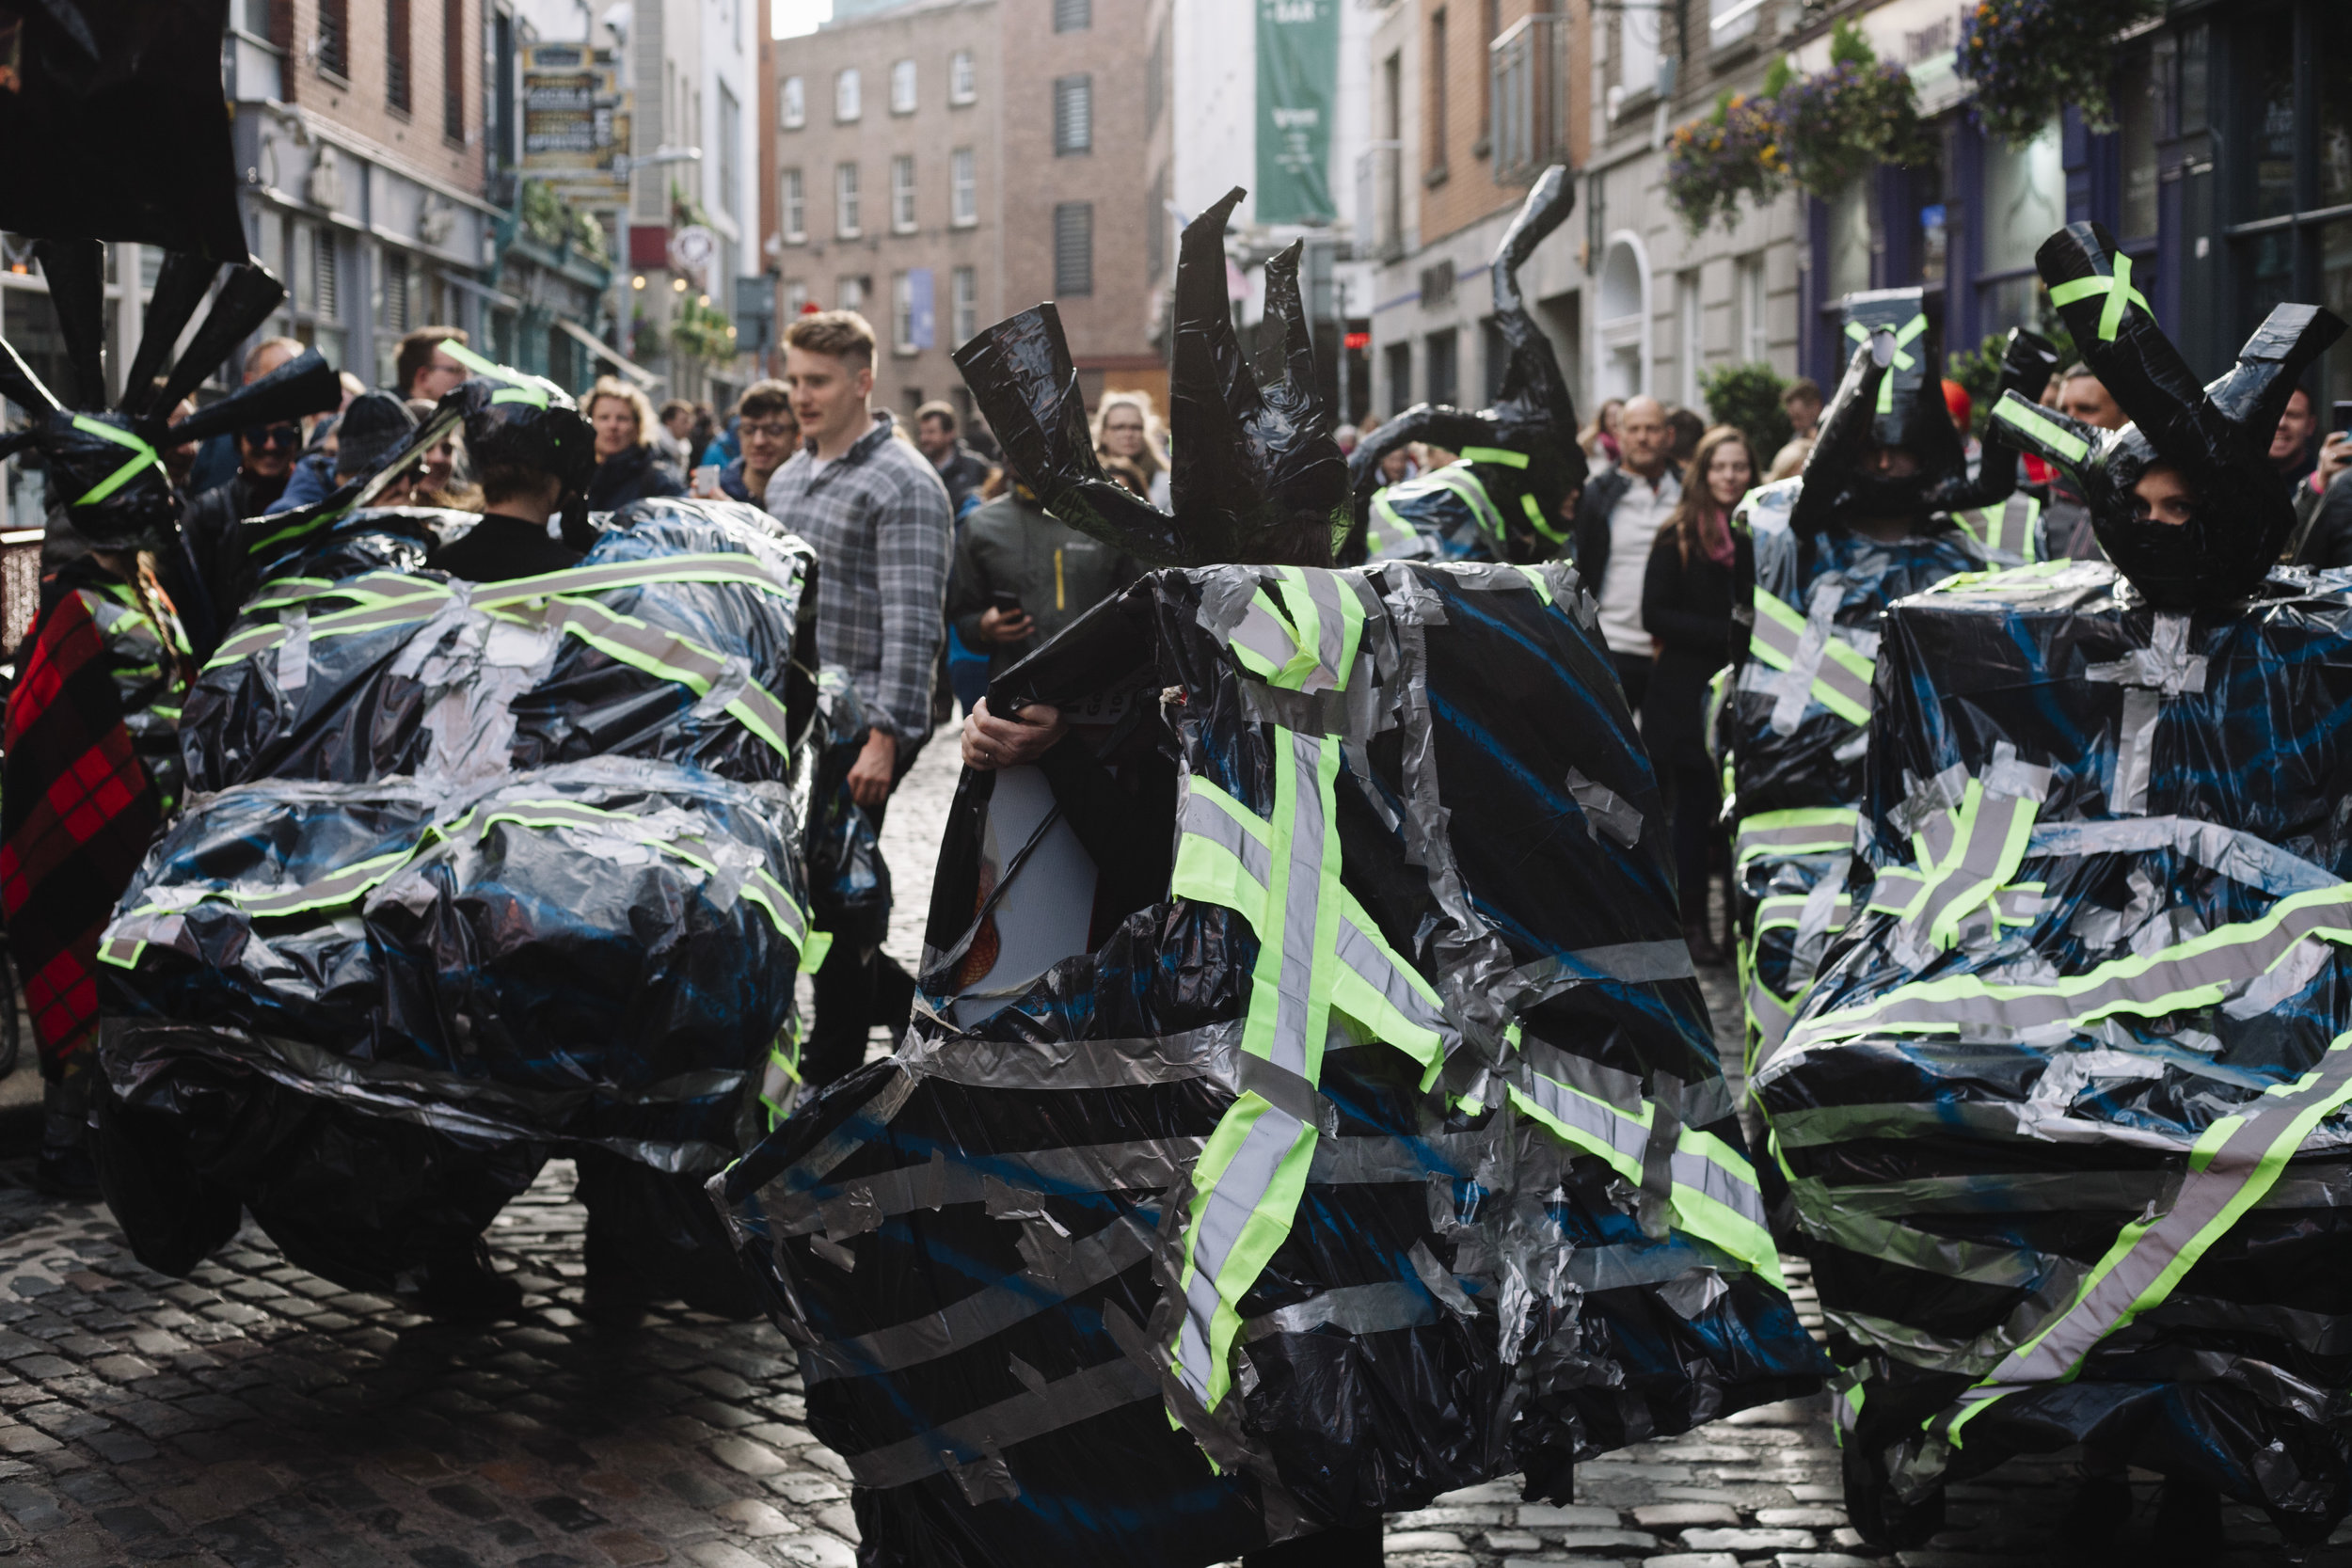
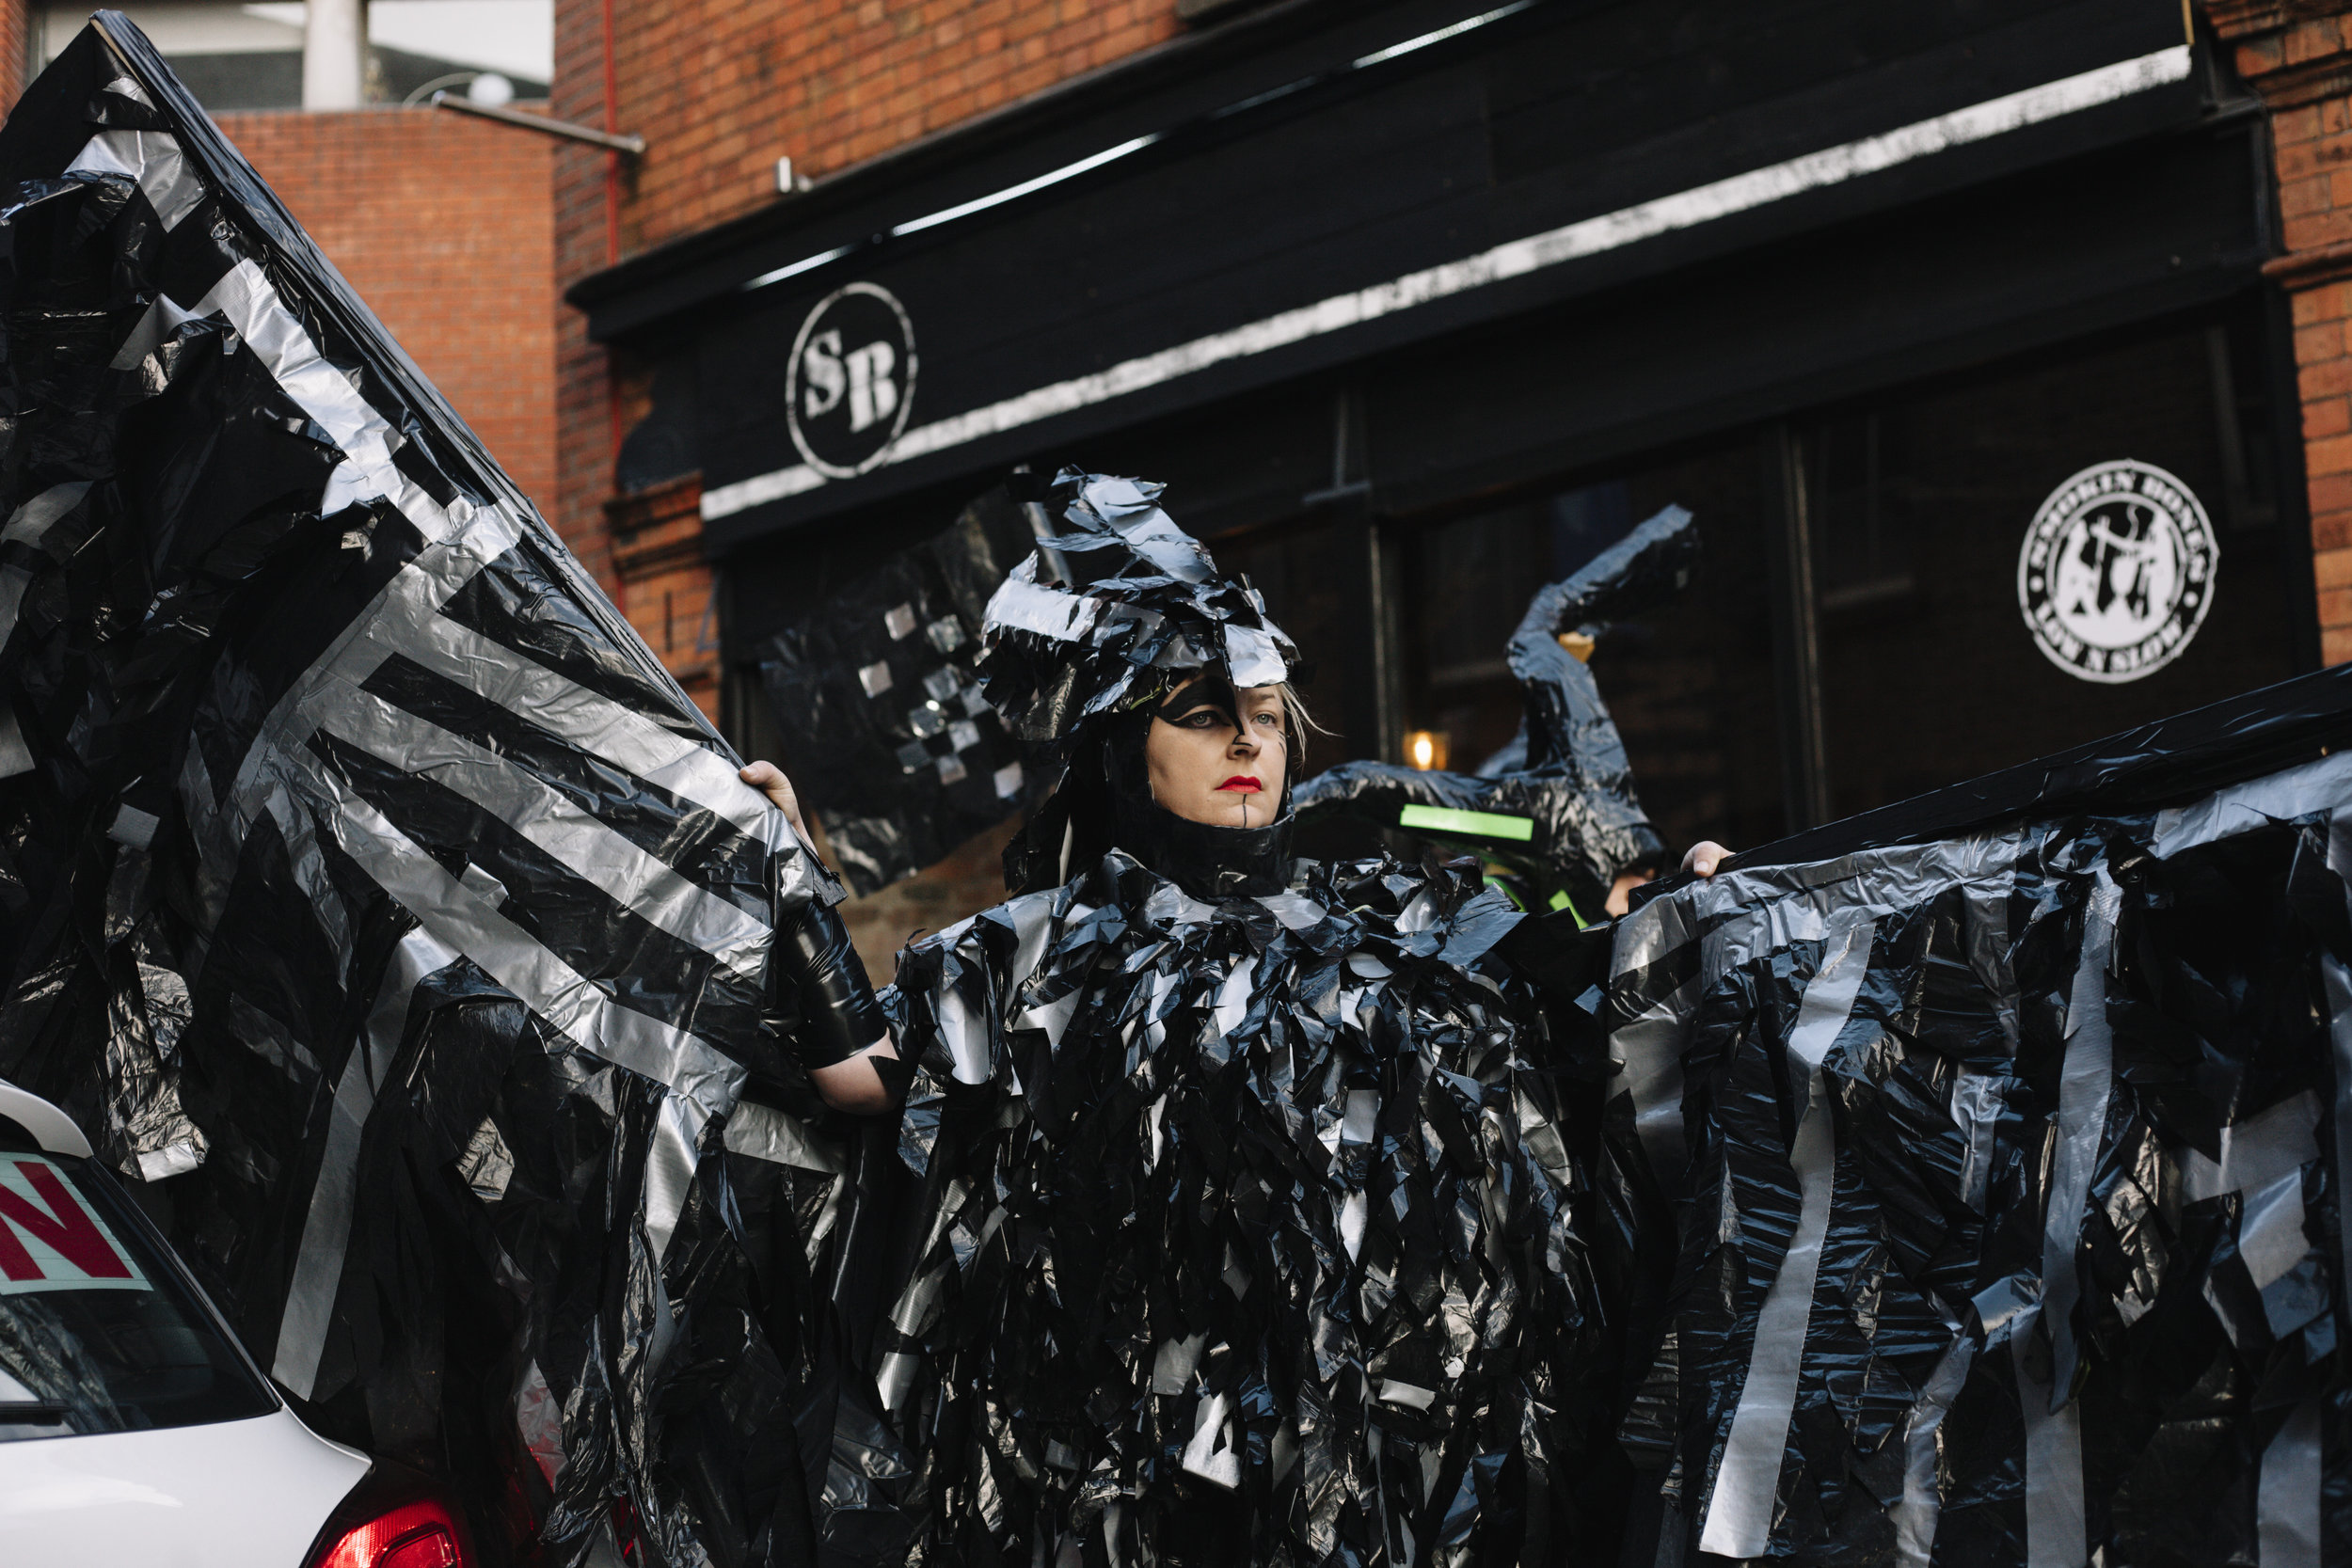
Live Installation - Performance, Rally, view of Sirens, Temple Bar Gallery + Project Arts Center
Image: Declan Kelly

Live Installation - Performance, Rally, view of Fire Piston, Temple Bar Gallery + Project Arts Center
Image: Declan Kelly
Live Installation - Performance Rally, view of Sirens, Temple Bar Gallery + Project Arts Center
Live Installation - Performance Rally, view of Morrigan, Temple Bar Gallery + Project Arts Center
Live Installation - Performance Rally, view of Morrigan, Temple Bar Gallery + Project Arts Center
Live Installation - Performance Rally, view of Morrigan, Temple Bar Gallery + Project Arts Center
Live Installation - Performance Rally, View of Morrigan + Fire Piston, Temple Bar Gallery + Project Arts Center
Live Installation - Performance Rally, View of Balor incoming on his wave, Temple Bar Gallery + Project Arts Center